Creo Elements/Direct Cabling Tutorial 2: Step 3 of 6
Route a cable through clips
Now you will route the visible cable through the clips that you just added to the assembly.
Before you start, delete the 3D visualization to make it easier to see as you position the wire:
1. Click
Tools and then in the
Visualising group, click
 Delete visual wires
. The
Solid Cables Delete dialog box opens.
2. Select the red cable. This deletes only the 3D representation of the cable. The wireframe model should be visible in the viewport.
3. Click
OK
to complete the operation.
To position a cable,
1. Click
Cabling and then, in the
Modify group, click
 Move spline point
. The
Modify Spline dialog box opens.
2. Click Curve and select the wireframe curve of the cable.
3. Click Insert. You want to insert a spline point because the cable currently has only a beginning and end, and we don't want to move those points.
4. Click the spline curve approximately 1/3 of the way up the cable, like this:
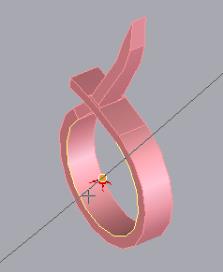
5. Hold the Ctrl+Shift keys and click inside the center of the first clamp, like this:
6. Repeat steps 4-6 to insert another point about 2/3 of the way up the cable and position the point within the other clamp.
Do not close the dialog box. You need it open for the next steps of this tutorial.
Your assembly should look like this:
Note that the cable goes through the clamp, but also through the wall of the sheet metal part. We will fix this in the next steps.
 Delete visual wires. The Solid Cables Delete dialog box opens.
 Delete visual wires. The Solid Cables Delete dialog box opens.
 Delete visual wires. The Solid Cables Delete dialog box opens.
 to complete the operation.
 Move spline point. The Modify Spline dialog box opens.

