Create color-shaded section views for individual parts
You can create colored section views for individual parts.
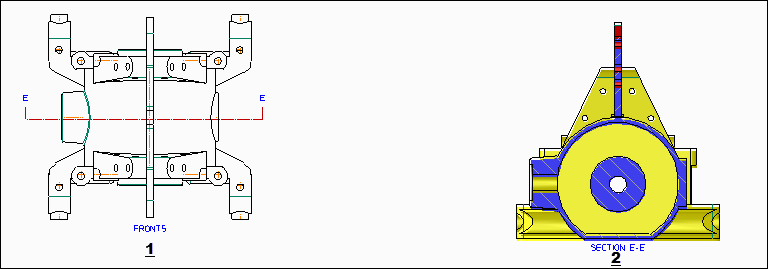
A source or parent view and section view must already be available and updated before you can apply the color shades to the section view. The following figure shows a parent view (1) and the corresponding color-shaded section view (2).
To create a color-shaded section view,
1. Select the section view to be color shaded.
2. Click Annotation and then, in the Setup group, click the arrow next to Properties.
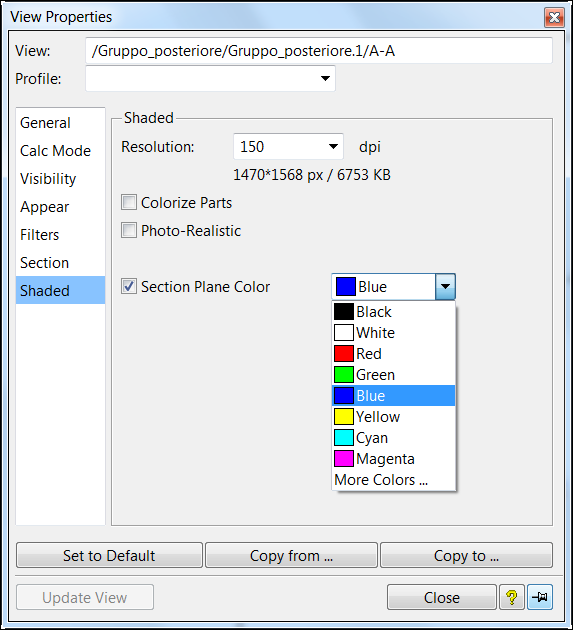
3. Click View. The View Properties dialog box opens.
4. Click Calc Mode and then, in the Update Mode section, select the Calc Mode setting.
Only Classic + Shaded, Graphics + Shaded and Shaded support the color shading of section views.
5. In the left plane, click Shaded.
The Section Plane Color checkbox is selected along with the Red color by default.
• The Shaded pane appears only for a valid Calc Mode.
• If the check box is deselected, section plane displays only the individual part color.
6. Select the desired color in the Section Plane Color list.
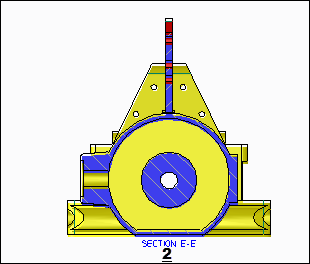
The section plane is displayed with the defined color.
7. Click Update View to confirm your color selection.
The selected color is applied to the section view.
8. Click Close to close the View Properties dialog box.
 Properties.