1. |  | |||
2. | Click > to load
Printer.pkg. | |||
3. | Expand the Printer assembly and double-click Lid (the configuration inside Printer), as shown in the image below.  | |||
4. | Click the Analysis tab on the ribbon and then, in the Measure group, click the arrow next to  Distance. Click Distance. Click  Distance of Face to Face to measure the distance between the inner faces, as shown in the image below. Distance of Face to Face to measure the distance between the inner faces, as shown in the image below.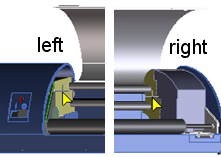 | |||
5. | Send the measurement to the calculator: click | |||
6. | Calculate the distance to move the right face: subtract the length that you want for the final distance between the two faces.
| |||
7. | Close the printer: double-click the Lid configuration. |
1. | | |||
2. | Move parts using 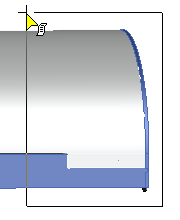 | |||
3. | Select the Direction: point the CoPilot arrow to the left, as shown in the image below. 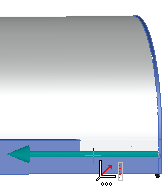 | |||
4. | Send the calculation to | |||
| ||||
Don't forget to click  to complete each operation. to complete each operation. Rotate, Rotate, pan, pan, or zoom for a better view. or zoom for a better view. |
Shortcuts:    |