|
|
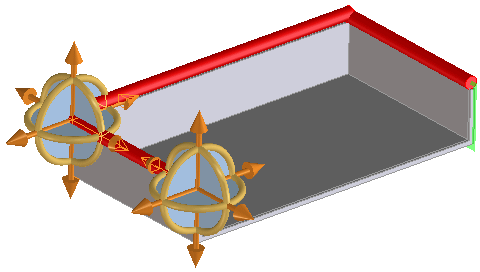
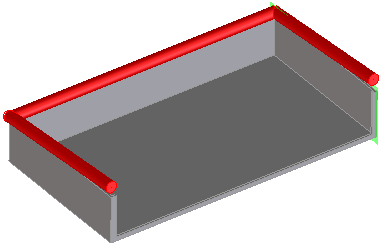
You can also use this command to create channels along edges and 2D geometry: Route a cable using On Edges, then convert it to a channel with Gather Edge command on the Channel tab, in the Modify group (under Add edge).
|
|
|
You can also use this command to create channels along edges and 2D geometry: Route a cable using On Edges, then convert it to a channel with Gather Edge command on the Channel tab, in the Modify group (under Add edge).
|
 On Edge/Face.
 On Edges. The Create Cable dialog box opens.
Connecting to the wrong end? Where you click the edge matters. This command takes the closest end to the selection point. |
 to complete the operation.