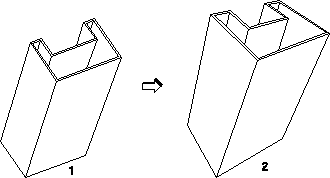
Creo Elements/Direct Modeling lets you visualize parts and assemblies in perspective. This is particularly important in the design stage to get a more realistic view of the solid model.
When viewing a part in perspective, you can do machining, modifying, or other operations on the part. However, be careful when doing so as the perspective view may, for example, exaggerate how a tapered edge looks.
Changing to Perspective View
To change to perspective viewing,
1. Right-click in the viewport and select Viewport Properties. The Vport: vport1 dialog box opens.
2. Click Perspective under Projection.
3. Click Settings. The View Settings dialog opens:
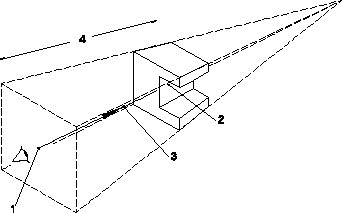
• From Pt: This is the point from which you view the model. It is the same as the eye point. The closer the point is to the model, the greater the distortion. The From Pt cannot be inside the model. To specify the from point, click From Pt and enter coordinate points in the user input line.
• To Pt: This is the point to which the view diminishes. The default value is in the center of the model. The closer the point is to the eye point, the greater the distortion.
• Distance: This is the distance between the From Pt and the To Pt. As the distance becomes smaller, the perspective view becomes stronger.
• Field View: Use this option to set the field of view. This is similar to changing the camera objective angle. The value for the angle is between 1 and 179 degrees. Increasing the angle moves the model away from you.
• Refresh: Use this option to refresh the menu (some situations may arise when the menu values are out-of-sync with the camera position).