2D CoPilot offers fast and precise 2D geometry input by combining extensive user interaction with snapping and an auto-precision adaptive grid.
Starting 2D CoPilot
In the Fluent user interface, the ribbon appears above the viewport. Activate 2D CoPilot by clicking one of the buttons to draw lines and arcs, rectangles, or circles on the ribbon.
When the cursor or the rubber line is active, distances and angles appear for lines and vertices in the cursor text window, and radii appear for circles.
• You can press H to show or hide the cursor text window. Hiding the cursor text window improves visibility of the elements in the viewport.
• You can also press the SPACEBAR to open the Option Mini Toolbar (OMT), click and select Hide Cursor Text or Show Cursor Text to hide or show the cursor text window, respectively.
Orange values indicate a full snap condition. To change the position or look of the window, use the 2D CoPilot Settings menu.
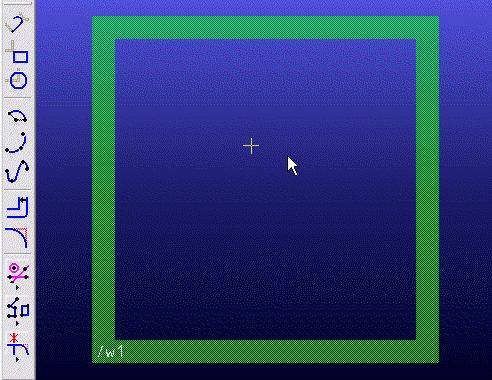
The image below displays the Line/Arc, Rectangle, and Circle 2D CoPilot modes.