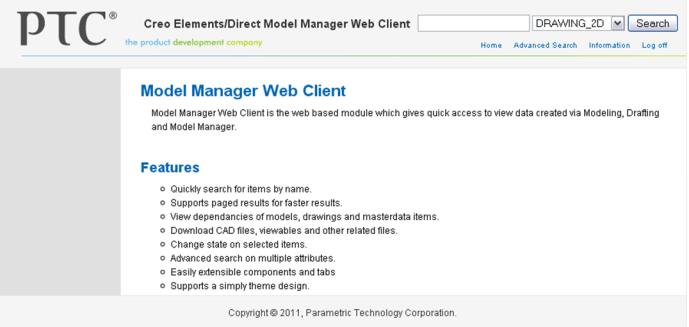
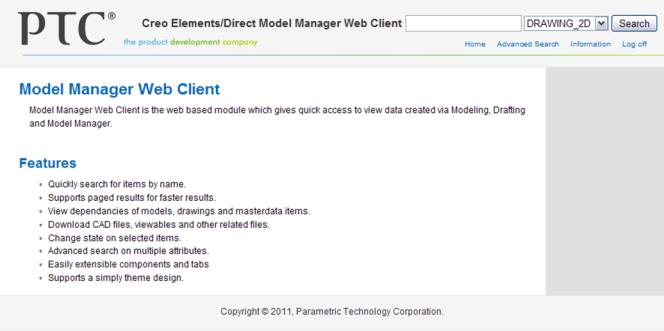
Customizing the web page layout
You can add and modify the web client page layout for Creo Elements/Direct Model Manager.
To add a web client page layout,
1. Create a copy of any one of the styles from the <Creo Elements/Direct Manager Server 20.6 installation location>webapps/mmweb/style directory at the same location. Name the new style as custom, for example.
2. Create a copy of the <Creo Elements/Direct Manager Server 20.6 installation location>/WebConfig.xml file at the same location. Name the copied file as CustomWebConfig.xml, for example.
3. Add a new theme in the CustomWebConfig.xml file. For example,
<Theme>
<Name>Custom</Name>
<Dir>custom</Dir>
</Theme>
<Name>Custom</Name>
<Dir>custom</Dir>
</Theme>
4. Edit the header.jsp file in the custom style to include the new style name in the link to the format.css file. For example, if the name of the newly created style is custom, the link must be as follows:
<link rel="stylesheet" type="text/css" href="style/custom/format.css">
You can customize the header.jsp and footer.jsp files in the newly created style to change the layout. For more information, see To modify a web client page layout.
To modify a web client page layout,
You can modify a web client page layout to create the following different layouts:
1. Two-column fluid layout with a fixed left column
2. Two-column fluid layout with a fixed right column
3. Three-column fluid layout
Two-column fluid layout with a fixed left column:
This is a two column layout with a fixed width left column and a fluid right column.
1. Add the following in the Header.jsp file:
<table width="100%" style="height: 100%;" cellpadding="0" cellspacing="0" border="0">
<%-- ============ Header Section ============== --%>
<tr>
<td colspan="2">
<div class="header"></div>
</td>
</tr>
<%-- ============ Middle Section ============== --%>
<tr>
<%-- ============ LEFT COLUMN ============== --%>
<td width="160px" valign="top" style="background: #E0E0E0;">
<div class="left"></div>
</td>
<%-- ============ MIDDLE COLUMN (page and content) ============== --%>
<td valign="top">
<div class="page">
2. Add the following in the footer.jsp file:
</div>
</td>
</tr>
<%-- ============ FOOTER SECTION ============== --%>
<tr>
<td colspan="2" height="38px">
<div class="footer"></div>
</td>
</tr>
</table>
3. In the Header.jsp file, move <div class=menu> and <div class=search> to <div class=header>.
Two-column fluid layout with a fixed right column:
This is a two column layout with a fixed width right column and a fluid left column.
1. Add the following in the Header.jsp file:
<table width="100%" style="height: 100%;" cellpadding="0" cellspacing="0" border="0">
<%-- ============ Header Section ============== --%>
<tr>
<td colspan="2">
<div class="header"></div>
</td>
</tr>
<%-- ============ Middle Section ============== --%>
<tr>
<%-- ============ MIDDLE COLUMN (page and content) ============== --%>
<td valign="top">
<div class="page">
<%-- ============ Header Section ============== --%>
<tr>
<td colspan="2">
<div class="header"></div>
</td>
</tr>
<%-- ============ Middle Section ============== --%>
<tr>
<%-- ============ MIDDLE COLUMN (page and content) ============== --%>
<td valign="top">
<div class="page">
2. Add the following in the footer.jsp file:
</div>
</td>
<%-- ============ RIGHT COLUMN ============== --%>
<td width="160px" valign="top" style="background: #E0E0E0;">
<div class="right">
</div>
</td>
</tr>
<%-- ============ FOOTER SECTION ============== --%>
<tr>
<td colspan="2" height="38px">
<div class="footer"></div>
</td>
</tr>
</table>
</td>
<%-- ============ RIGHT COLUMN ============== --%>
<td width="160px" valign="top" style="background: #E0E0E0;">
<div class="right">
</div>
</td>
</tr>
<%-- ============ FOOTER SECTION ============== --%>
<tr>
<td colspan="2" height="38px">
<div class="footer"></div>
</td>
</tr>
</table>
3. In the Header.jsp file, move <div class="menu"> and <div class="search"> to <div class="header">.
Three-column fluid layout:
The three column layout has a fixed width for the left and right columns and a fluid middle column.

1. Add the following in the Header.jsp file:
<table width="100%" style="height: 100%;" cellpadding="0" cellspacing="0" border="0">
<%-- ============ Header Section ============== --%>
<tr>
<td colspan="3">
<div class="header"></div>
</td>
</tr>
<%-- ============ Middle Section ============== --%>
<tr>
<%-- ============ LEFT COLUMN ============== --%>
<td width="150px" valign="top" style="background:#E0E0E0;">
<div class="left"></div>
</td>
<%-- ============ MIDDLE COLUMN (page and content) ============== --%>
<td valign="top">
<div class="page">
2. Add the following in the footer.jsp file:
</div>
</td>
<%-- ============ RIGHT COLUMN ============== --%>
<td width="160px" valign="top" style="background: #E0E0E0;">
<div class="right">
</div>
</td>
</tr>
<%-- ============ FOOTER SECTION ============== --%>
<tr>
<td colspan="3" height="38px">
<div class="footer"></div>
</td>
</tr>
</table>
</td>
<%-- ============ RIGHT COLUMN ============== --%>
<td width="160px" valign="top" style="background: #E0E0E0;">
<div class="right">
</div>
</td>
</tr>
<%-- ============ FOOTER SECTION ============== --%>
<tr>
<td colspan="3" height="38px">
<div class="footer"></div>
</td>
</tr>
</table>
3. In the Header.jsp file, move <div class="menu"> and <div class="search"> to <div class="header">.
You can define the style of the table cells in the JSP files. For example, style="background:#E0E0E0;". The table also contains <div> elements like <div class="right">, < div class="left">, <div class="content">, and so on. You can define the style for <div> elements in the format.css file. |
Testing the customized page layout,
1. Add the following in the <Creo Elements/Direct Manager Server 20.6 installation location>/CustomWebConfig.xml file: <DefaultStyle>ptc_side</DefaultStyle>.
2. Click > > > .
3. Right-click the Creo Elements/Direct Model Manager Java Services and select Restart.
4. Type http://WebServicesServer/mmweb/ in a browser to access the web client. For example, http://localhost:8580/mmweb/.