Workflow Actions
Workflow Actions are a new concept introduced in CB-7.8.0, to replace the old (single) Workflow Transition Action and Transition Field Updates.
Workflow Actions are procedures , that should be called upon specific events to perform specific tasks.
, that should be called upon specific events to perform specific tasks.Workflow Actions can be associated with the following events/triggers:
• State transitions.
• Escalation rules.
• Event handlers.
There can be multiple actions associated with a single event/trigger, even multiple invocations of the same action (with different parameters).
For example: Actions to execute upon a state transition:
You can add More... actions via the action selector, that will show all available actions in the current context.
The newly selected action will be automatically opened in a popup dialog and added to the end of the action list with OK.
You can then move the action to the designated position via drag-and-drop.
Actions will be executed in the specified order (from top to bottom) and execution order can be important.
E.g. Validate the user signature (password) should typically be executed first, to prevent unnecessary actions, in case the password validation fails.
To Edit an action, you can:
• Double click the action in the action list, which will edit the action in place.
• Right click the action and choose Edit... from the context menu, which will open the action editor in a popup dialog.
To Delete an action:
• Right click the action and choose Delete from the context menu.

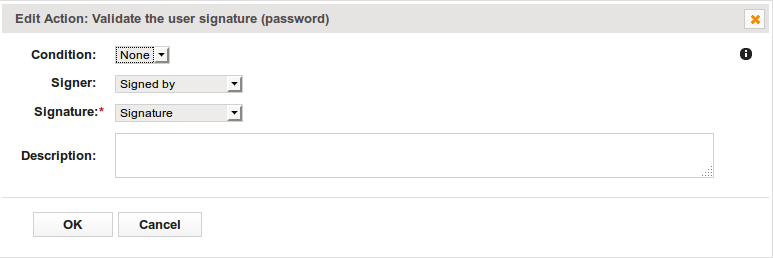
Each action has an optional
• Condition,
• Description and
• Execute as (where appropriate).
Each action can also have specific additional parameters, that can be optional or required. In our example, these are:
• Signer (optional)
• Signature (required).
Condition
Each action can be associated with a condition, that decides, whether the action should be executed for the tracker item, which is the source/subject of the triggering event, or not.
An action condition is a tracker view whose Condition will be evaluated against the tracker item, which is the source/subject of the triggering event.
The condition selector shows all available tracker views in the current context.
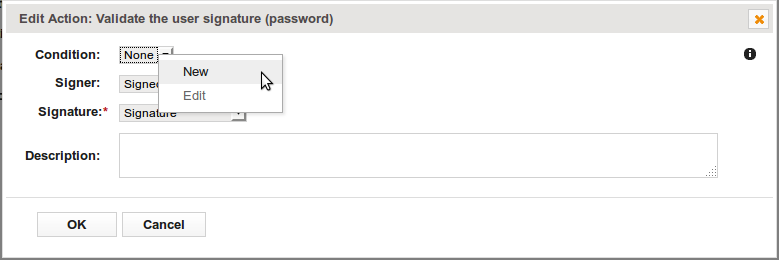
If no suitable condition/view exists yet, you can create a new one, by right-clicking on the condition selector and choosing New from the context menu:
E.g. Only execute action on items with high priority:
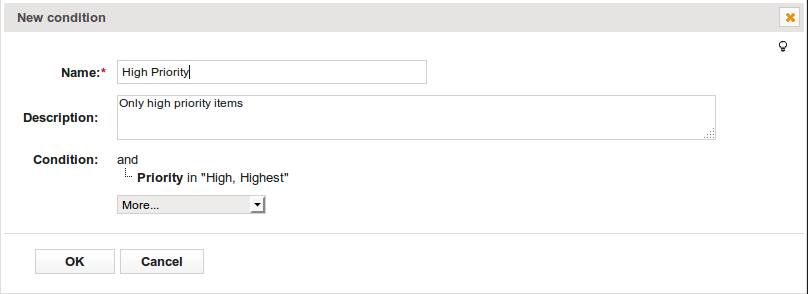
The new condition will be stored as a tracker view of type Table with the configured Condition and Default Columns and Sorting.
You can edit the currently selected condition, by right-clicking on the condition selector and choosing Edit from the context menu.
Execute As
Permissions can become a problem, when executing workflow actions!
E.g. You configure to update items in an other tracker, but the user that executes the triggering event (where (s)he has permission to do so), does not have appropriate permission to :
• Access that tracker.
• Edit the configured field value (in that item status).
• Execute the configured state transition.
Therefore, by default, all configured workflow actions will be executed as the user that defined/configured the action (execution).
Via the Execute as selector, you can override this default behavior, to execute an action as one of the following:
• A specific user.
• The current user (not recommended).
To restore the default behavior, clear Execute as.
The Execute as selector is not displayed by default since CB-8.2.0. In order to use this feature the executeAsEnabled property needs to be set to true in the general xml configuration file.
<interactive executeAsEnabled="true" ></interactive>
If there was an Execute As user already set for a workflow action then the user selector is displayed regardless of the general xml settings.
Default Actions
Codebeamer provides the following default workflow actions:
• Trigger state transition (CB-10.0 and newer)
The following workflow actions are introduced in CB-9.3.0 and available for Release trackers:
Custom Actions
You can also define custom workflow actions. Refer the instructions here.