Step by step Installing-Preparing CentOS under ESX
Create a new virtual machine

• Select storage location.

• Customise settings

• Configure CD/DVD.

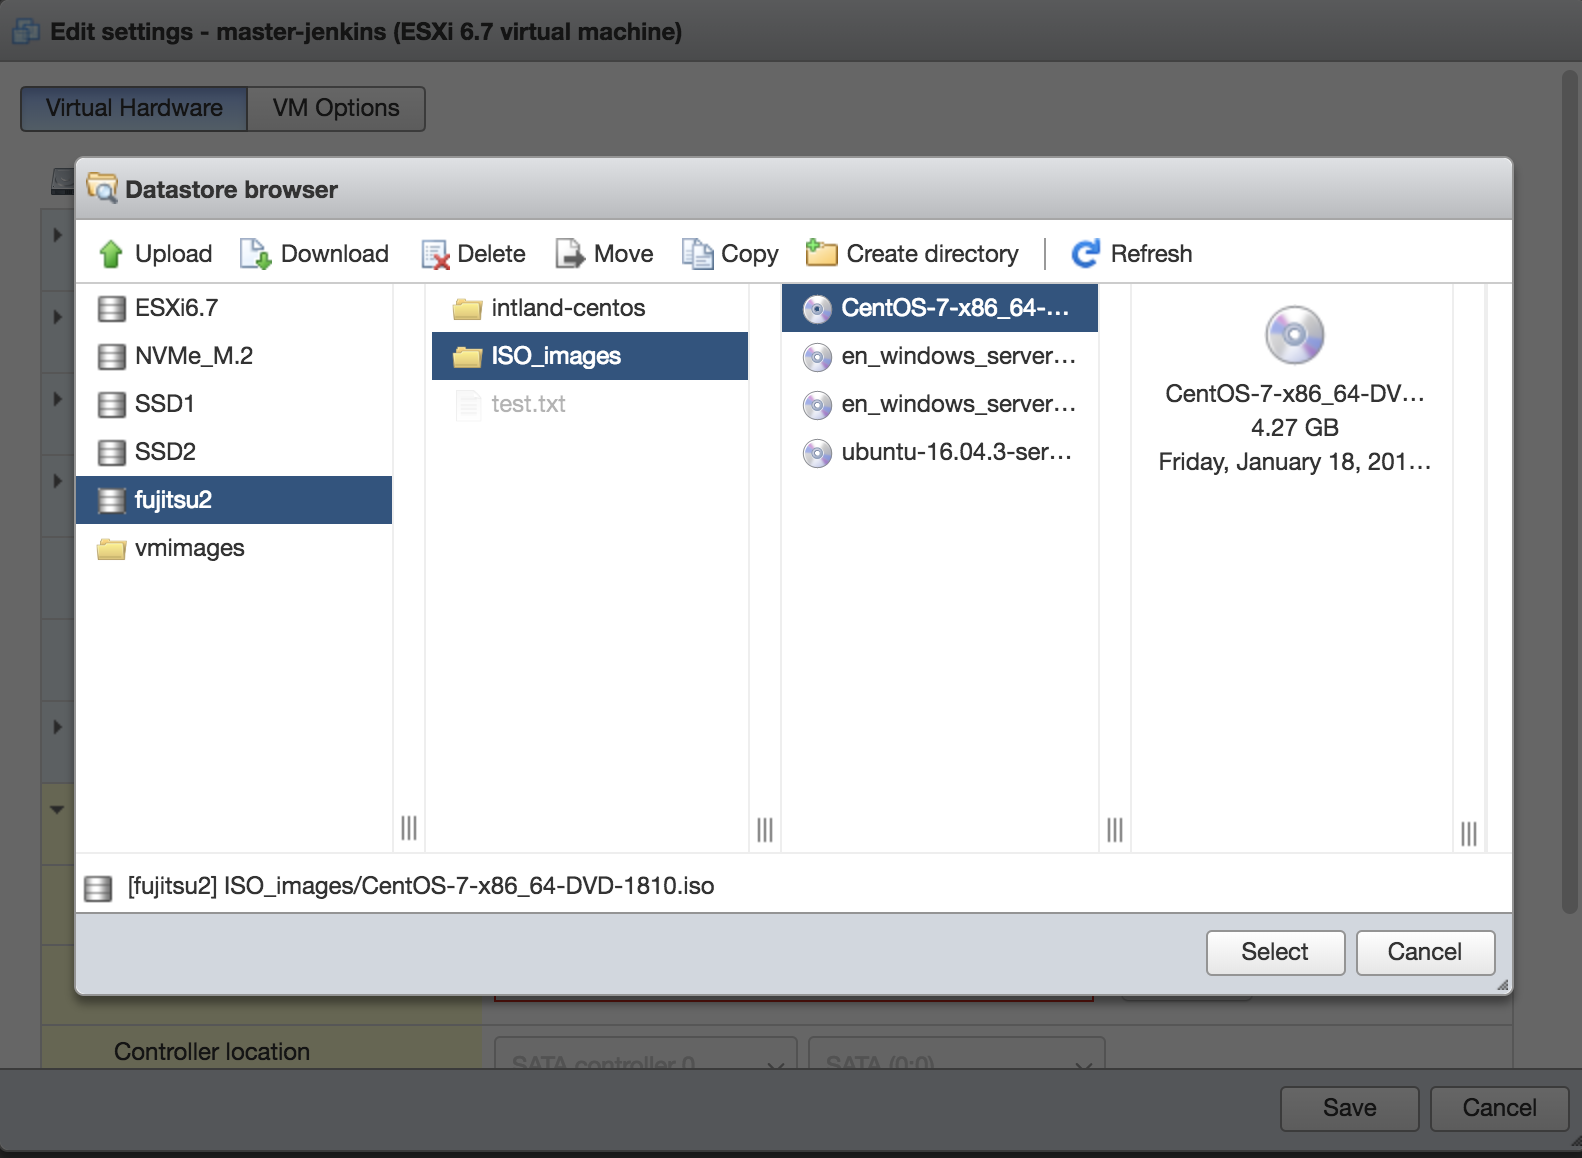
• Select Centos ISO.


• Finish configuration and Power on VM.

Installing Centos

Network setup. It most cases DHCP is fine however static IP address can be also configured.


• Setting NTP server (optional).

• Setting Installation Destination.

• Setting root password.

• Creating user Codebeamer.

• Opening port for Codebeamer.
The example below opens port 8080:
$ sudo firewall-cmd --permanent --add-port=8080/tcp
$ sudo firewall-cmd --reload
$ sudo firewall-cmd --reload
It is recommended not allowing ssh access for root user. Execute steps below not grant ssh access for root:
$ sudo vi /etc/ssh/sshd_config
Set line containing PermitRootLogin to no.
Restart ssh service:
$ sudo systemctl restart sshd.service
Installing packages required by Codebeamer
The commands below install minimal packages required by Codebeamer.
• CentOS 8
$ sudo yum -y install --exclude=*-doc.noarch \
java-1.8.0-openjdk-devel \
glibc-langpack-en
$ sudo yum -y install texlive texlive-latex texlive-xetex
$ sudo yum -y install texlive-collection-latex
$ sudo yum -y install texlive-collection-latexrecommended
$ sudo yum -y install epel-release
$ sudo yum -y install --exclude=*-doc.noarch ImageMagick
java-1.8.0-openjdk-devel \
glibc-langpack-en
$ sudo yum -y install texlive texlive-latex texlive-xetex
$ sudo yum -y install texlive-collection-latex
$ sudo yum -y install texlive-collection-latexrecommended
$ sudo yum -y install epel-release
$ sudo yum -y install --exclude=*-doc.noarch ImageMagick
• CentOS 7.
$ sudo yum -y install --exclude=*-doc.noarch \
java-1.8.0-openjdk-headless \
ImageMagick \
texlive-latex \
texlive-latex-bin \
texlive-latexconfig \
texlive-amsmath \
texlive-dvipng \
texlive-dvipng-bin \
texlive-dvips \
texlive-dvips-bin \
texlive-texconfig \
texlive-texconfig-bin \
texlive-metafont \
texlive-metafont-bin \
texlive-collection-fontsrecommended \
fontconfig freetype freetype-devel fontconfig-devel libstdc++
$ sudo yum -y groupinstall --exclude=*-doc.noarch "fonts"
$ sudo yum clean all
$ sudo rm -rf /var/cache/yum
• Now, Centos is prepared to install Codebeamer.
Installing MySql
If you plan to run Codebeamer with MySql please refer to Installing MySQL Database on Red Hat or CentOS how to install MySql.