Authoring DITA Topics
You author DITA topics in the same way that you author other types of XML documents. Use the > or > menu choices, or the associated toolbar buttons and key mappings, to open a new or existing DITA topic in Arbortext Editor. Once your DITA topic is open, you can use the standard Arbortext Editor features to author the document.
Arbortext Editor provides an additional dialog called the Resource Manager that enables you to insert images, content references, links, and cross references into your DITA topic. When you invoke an operation such as > , the Resource Manager is displayed with the relevant tab active, docked to the left side of the Arbortext Editor window. When you are authoring a DITA topic, the Resource Manager provides the following tabs:
• Image tab — Enables you to insert a reference to a graphic into DITA topics.
• Link/Xref tab — Enables you to insert links or cross references into DITA topics.
You can also invoke versions of these tabs from the Modify Attributes dialog box to modify references in DITA topics.
Arbortext Editor also provides a button

and menu choice ( > ) that automatically generates an ID for elements in a DITA topic.
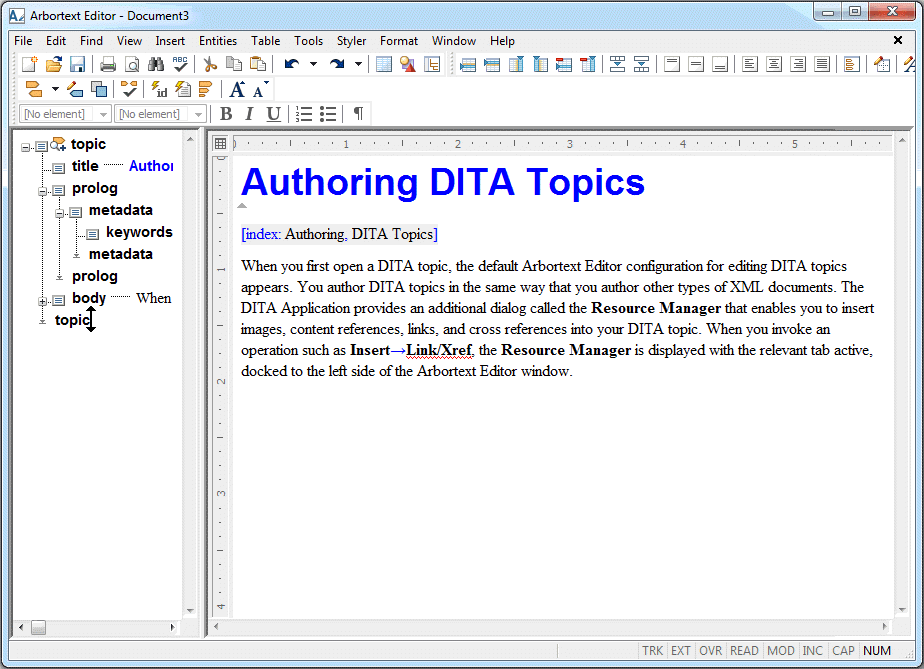
When you first open a DITA topic, the default Arbortext Editor configuration for editing DITA topics appears as follows:
You can change the default configuration as desired and save the changes in your user preferences file (arbortext.wcf). You can save different Arbortext Editor configurations for editing DITA topics and DITA maps.
 and menu choice ( > ) that automatically generates an ID for elements in a DITA topic.
 and menu choice ( > ) that automatically generates an ID for elements in a DITA topic.
 and menu choice ( > ) that automatically generates an ID for elements in a DITA topic.