Creating a Map
Before performing this exercise, start Arbortext Editor.
For this and the following exercises, you will be creating and adding content to a DITA map. You will be using the DITA topics created in the previous exercises to develop your map. Be sure to save the map in a location where you can retrieve it later.
Follow these steps to create a DITA map:
1. Choose > .
The New Document dialog box opens.
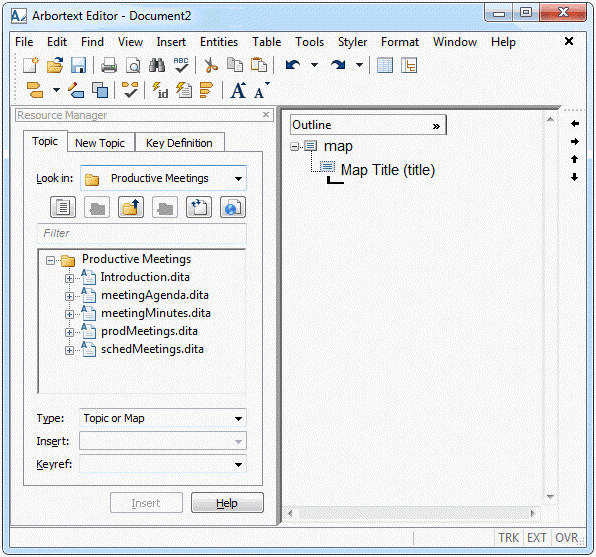
2. In the New Document dialog box, select DITA Technical Content in the Category list and DITA Map in the Type list and then click OK.
A DITA map template is loaded into the Arbortext Editor window in column view with the Resource Manager open:
3. Save the document with the name businessMeetings.ditamap.
Save the new document in the same location where you stored the DITA topics created in the previous exercises.
Parent topic