Inserting Tags and Content
For this exercise, use the Arbortext XML DocBook document you created in the previous exercise.
Arbortext Editor enables you to insert tags into your document in several ways, including the
Insert Markup dialog box and toolbar button

. In this exercise, you will use the Quick Tags feature to insert tags into your document.
Follow these steps to insert tags and content into your new document:
1. In the Document Map, place your cursor at the beginning of an existing paragraph.
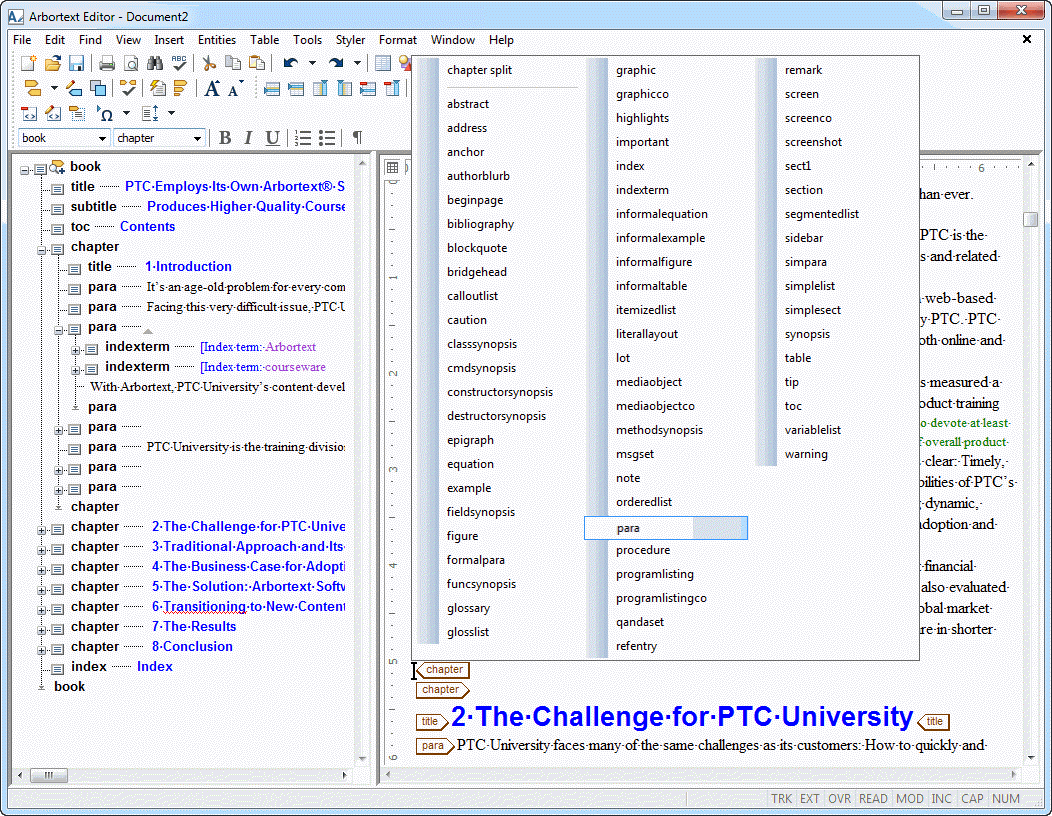
2. Press ENTER to display the Quick Tags menu.
Only the tags that the document type allows at that location are available.
3. Using the mouse, click on para to insert a new para tag.
The cursor is automatically positioned for inserting text.
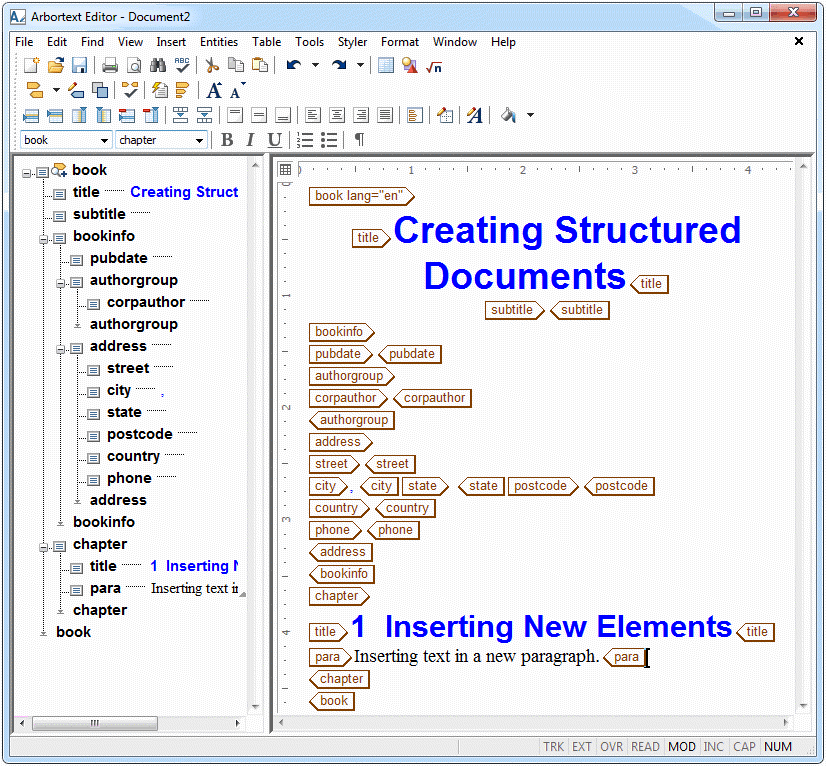
4. Type Inserting text in a new paragraph.
5. Place the cursor in the Edit view and choose > .
6. In the Edit view, place the cursor between the title tags at the top of the document and type Creating Structured Documents
7. Place the cursor between the next set of title tags (under the chapter tag) and type Inserting New Elements.
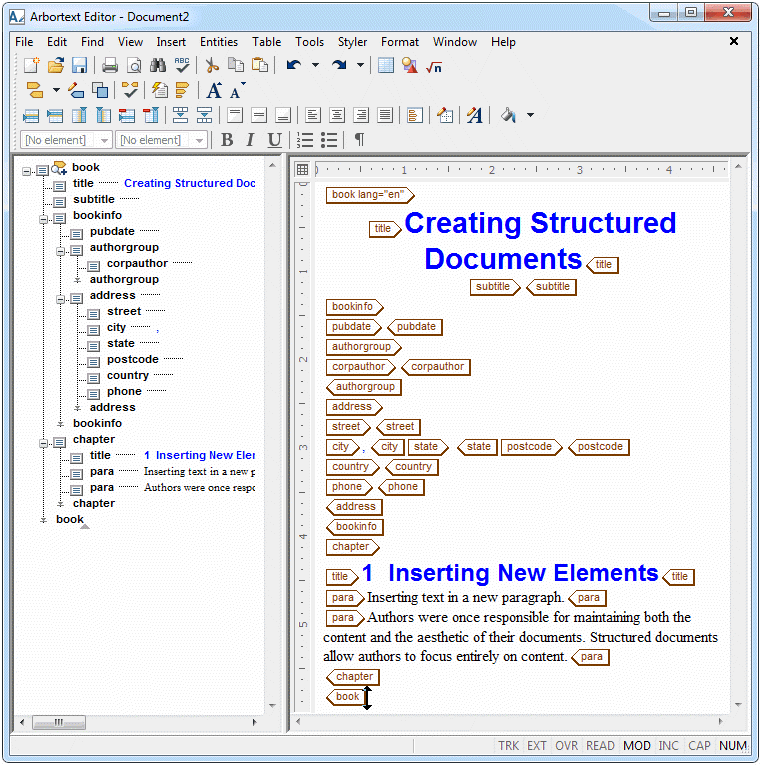
8. Between the second set of para tags, type Authors were once responsible for maintaining both the content and the format of their documents. Structured documents allow authors to focus entirely on content.
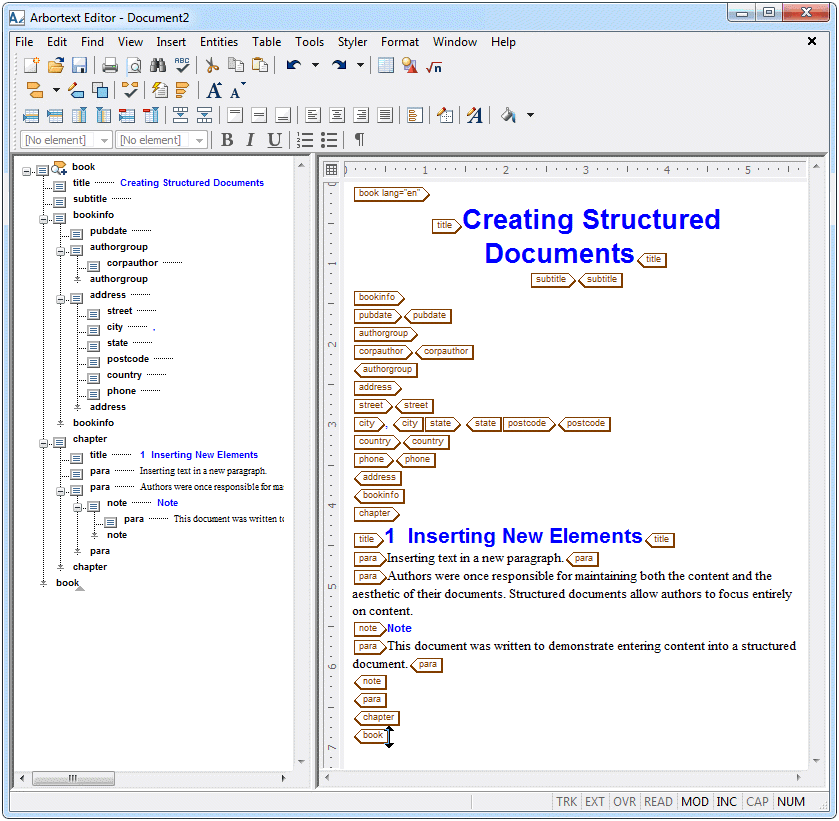
9. Press ENTER to select tags from the Quick Tags list.
10. Click on note to insert a note element
11. Type This document was written to demonstrate entering content into a structured document.
12. Choose > to save your changes.
For more information, refer to the
Inserting Markup and
Inserting Tags using Quick Tags topics in the
Arbortext Editor help.
Parent topic