Setup for a Sample Regulatory Hub
Prerequisites
• ThingWorx Installed - Version 8.5.3 Tested by PTC.
• Windchill with QMS surveillance, corrective action, and Regulatory Hub – Version 11.2.1 tested by PTC.
• Download and extract ThingWorx Extension and ThingWorx Edge SDK for your version of ThingWorx.
• Eclipse installed with FileSync installed as per the Windchill Customization Guide.
• ThingWorx eclipse plugin installed as per the ThingWorx Extension Development User Guide.
• Download and extract SRHeMDRDist.zip.
Procedure
1. Open the Windchill shell and browse to the Windchill installation directory.
2. Run the ant command. This creates an Eclipse project for the Windchill development.
ant -f bin/tools.xml eclipse_project
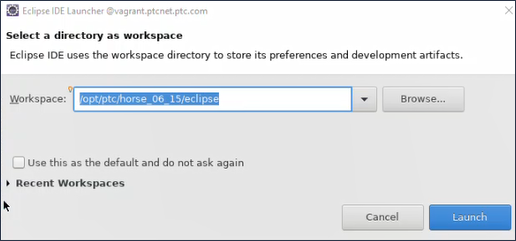
The Eclipse project opens and a workspace is created by the ant command.
3. Launch the Eclipse project from the newly created workspace.
4. Click > . Import a project into the workspace, and browse to the location where you extracted the SRHeMDRDist.zip file.
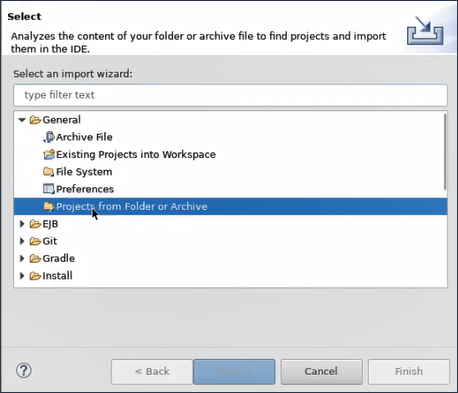
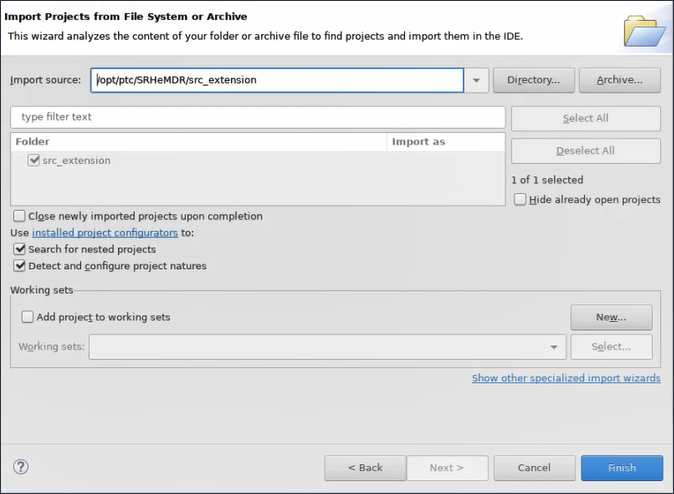
5. In the Import source field, browse to the SRHeMDRDist\src_extension folder and click Finish. This folder contains a sample code that helps you to create the ThingWorx Extension for the Reg Hub customization.
To do the configuration using a remote server rather than ThingWorx, import the SRHeMDRDist\src_remote folder. |
6. Copy the openpdf.jar file from you downloads to SRHeMDRDist\src_extension\lib directory.
7. Copy the following JAR files from Thingworx/apache-tomcat/webapps/Thingworx/WEB-INF/lib to SRHeMDRDist\src_extension\twx-lib.httpclient-<version>.jar:
◦ httpclient-cache-<version>.jar
◦ httpcore-<version>.jar
◦ httpmime-<version>.jar
◦ json-<version>.jar
8. Copy all JAR files from ThingWorx-Extensions-SDK-<version>.zip to SRHeMDRDist\src_extension\twx-lib.
If you are using the src_remote folder, then copy all jars from java-sdk--<version>.zip and copy openpdf.jar from web or /opt/wnc/3rdPartyJars/lib to the SRHeMDRDist\src_remote\lib folder. |
9. Refresh the Eclipse project and add the JAR files to the class path.
a. Right-click the Eclipse project, and in the context menu select properties.
b. Select JAVA Build Path from the Properties dialog box.
c. Click Add JARs and add all the recently added JAR files including the openpdf.jar.
d. Click Apply and Close.
You will notice that the project compiles successfully now.
10. Right-click the build-extension.xml file available in the SRHeMDRDist\src_extension folder (or SRHeMDRDist\src_remote in case of remote server) and select > . The project starts building. At the end of the build, SRHExtension.zip file is created.
11. Import the SRHExtension.zip file and Entities.xml file into ThingWorx.
a. Launch ThingWorx and login as an administrator.
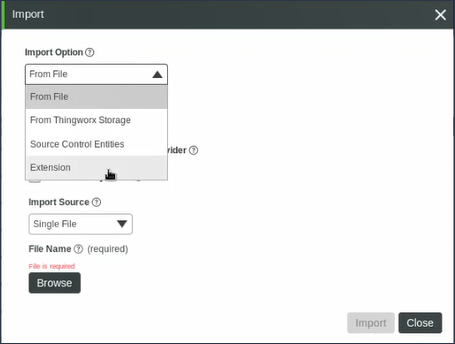
b. In ThingWorx, click ImportExport drop-down and select Import.
c. In the Import dialog box, select Extension as the Import Option and import the SRHExtension.zip file. Additionally, use the import from file option and import the Entities.xml from the SRHeMDRDist\src_extension\import folder.
12. Configuring ThingWorx.
a. The file SRHeMDRServicesThing located within > folder.
If you are using the SRHeMDRDist\src_remote source code, then select SRHRemoteHelper. |
b. Browse to the configuration tab of the service and set the restURL to point to your Windchill location. Also specify the Windchill credentials for login.

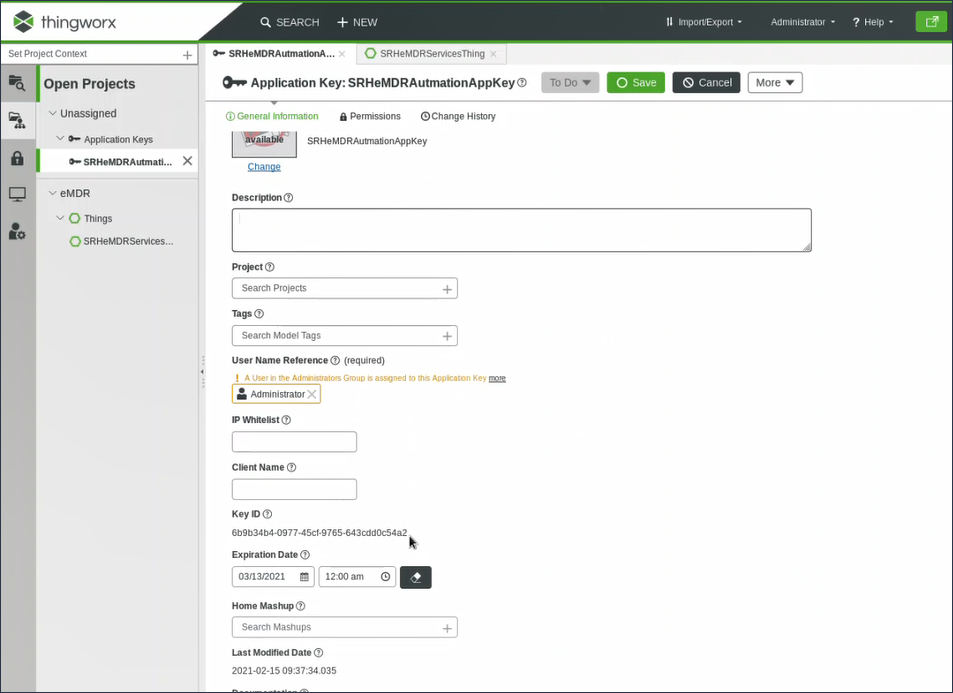
c. Create an application key (Key ID) in ThingWorx. This key helps Windchill to securely connect with ThingWorx. Preserve this application key (Key ID) for later use.
This completes the configuration on ThingWorx using the sample code.
For configuring the remote server, you can use the config.properties file located in the SRHeMDRDist\src_remote folder. After the configurations are done, run the SRHeMDRDist\src_remote\srh\SRHMain.java by selecting > in the right-click context menu. The remote server will connect to the ThingWorx database. |
13. Configure Windchill.
a. In Eclipse, click > and import the Windchill project (for example, cust_Windchill_src).
b. To add the source files from the sample code to the project, right-click the Windchill project and in the context menu select > .
c. In the Properties dialog box, click > and browse to the SRHeMDRDist\src directory. The src directory is now added to you eclipse project.
d. Edit the Output location of the SRHeMDRDist\src folder to codebase. For more information, see the Windchill Customization Guide.

e. Run the following command in the Windchill shell to register the new xconf files into Windchill.
xconfmanager -i codebase/org/rnd/sample/xconfs/Sample.xml -p
f. After a successful registration of the xconf file, run the windchill start command. This may take several minutes.
g. After Windchill starts, run the following command to import the load files. This command loads the files such as workflows, templates etc. that are required for the sample code to run in Windchill.
windchill wt.load.LoadFileSet -file codebase/org/rnd/sample/loadfiles/SampleLoad.xml -u <windchill username> -p <windchill password> -UAOps -NOSERVERSTOP
The required configurations are now complete.
14. Configure the Quality Template. If you already have a template and want to use it, skip this step.
a. Open the Windchill in browser and login.
b. In Windchill, browse to > > .
c. Click New Quality Template to create a new template. The New Quality Template dialog box opens. Load the generalCAPANCCEMAUDITTemplate.xml from the loadXMLFiles folder located in your Windchill installation.
d. Provide a name for the new Quality template and click OK.
15. Browse to > > . The Type and Attribute Management window opens.
16. Click to > . The EMDR Reg Hub page opens.
17. Click > and specify value for the following:
a. ThingWorx App Key - Application key (Key ID) that you created and preserved in the earlier steps.
b. ThingWorx Base URL – Browser path to navigate to ThingWorx. For example, http://vagrant.ptcnet.ptc.com:1234/Thingworx.
c. Initialization URL Format - /Things/SRHeMDRServicesThing/Services
d. Remote URL Format – URL of ThingWorx. For example, http://<ThingWorx URL>/Thingworx/Runtime/index.html?mashup=eMDRMashup&emdrId=%1$s
e. Click Done. This configuration helps establish a communication between Windchill and ThingWorx using the sample code.
Verifying the Sample Reg Hub
1. Open the Windchill in browser and log in.
2. Load Quality data.
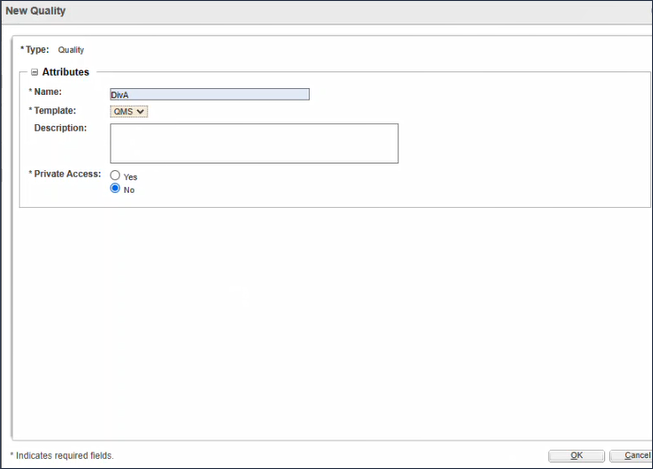
3. Create a new Quality container using the QMS template that was created in the earlier steps. You can also use an existing quality template.
4. Open the Teams section of the quality template container and assign roles to members. For example, demo users.
5. Customize the Windchill home page to show the QMS action. Click > > .
6. Click the New Customer Experience button and create a new customer experience by filling in details in the New Customer Experience dialog box. The evaluation task related to the new customer experience is created.
7. Open the evaluation task. The Create Evaluation dialog box opens.
8. Specify values as required in the Create Evaluation dialog box.
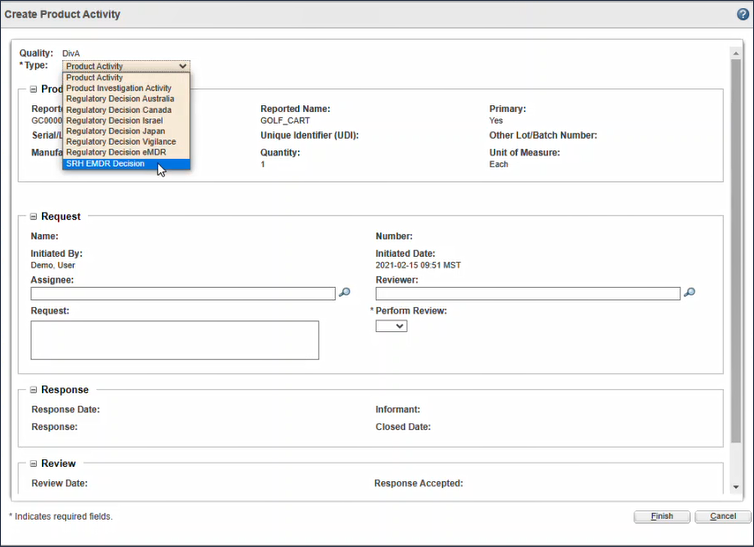
9. In the Product Activity section of the Create Evaluation dialog box, click New Product Activity.
10. In the Create Product Activity dialog box, select SRH EMDR Decision as the type. This is the new type that you configured and loaded using the sample code. Fill the other values as required and click Finish. This completes the evaluation process, and eMDR creation process is listed.
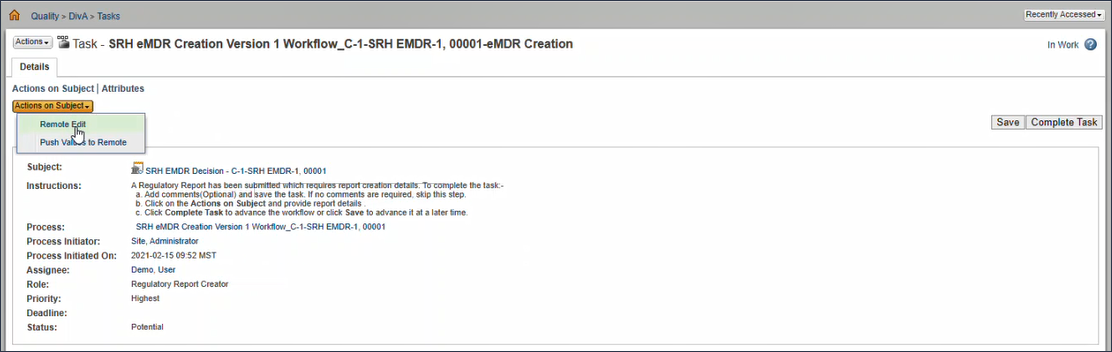
11. Open the eMDR Creation process and click > . This opens the ThingWorx user interface for editing the user data. Edit the values as required and Save. The information is updated in the ThingWorx database.
12. In Windchill, click Complete Task. The evaluation task is completed, and an approval task is created by ThingWorx in PDF format for users to view the data.
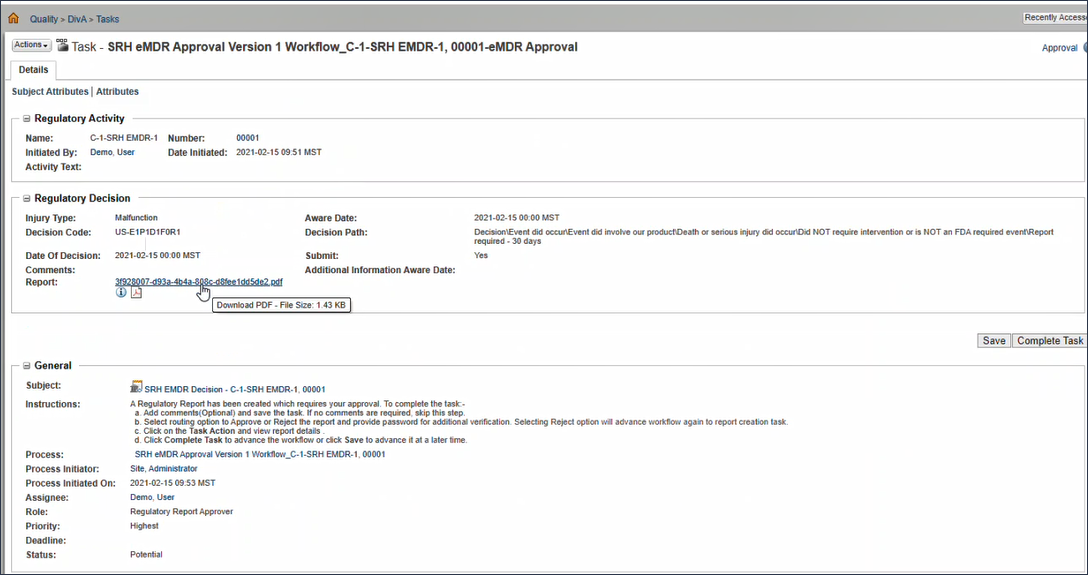
13. Review the information and click Complete Task. The decision now shows as submitted, because the task was approved and communication acknowledgments were also generated. After all communications are completed, the eMDR decision is closed and a review task is created to review the customer experience.