Creo Illustrate Setup
Register Windchill Server
Registering a Windchill server enables Creo Illustrate to connect with Windchill to work with illustrations.
1. Launch Creo Illustrate on your machine.
2. In Creo Illustrate, click > .
The Creo Illustrate Options dialog box opens.
3. In the left pane, under General, click Windchill.
The General-Windchill pane displays the registered servers, if any.
4. Click Add.
5. In the Add Server dialog box, specify the name and URL of the Windchill server.

6. Select client side publishing or server side publishing, if configured.
7. Click OK.
The server is added in the General-Windchill pane.
For more information on standards, see the “Linking to the Windchill Server” section in the Creo Illustrate Online Help.
Add Publishing Options
You must add a publishing option in Creo Illustrate to enable Windchill MPMLink objects to be published.
1. In Creo Illustrate, select > .
The Creo Illustrate Options dialog box opens.
2. At the top of the dialog box, next to Showing, select Illustration.
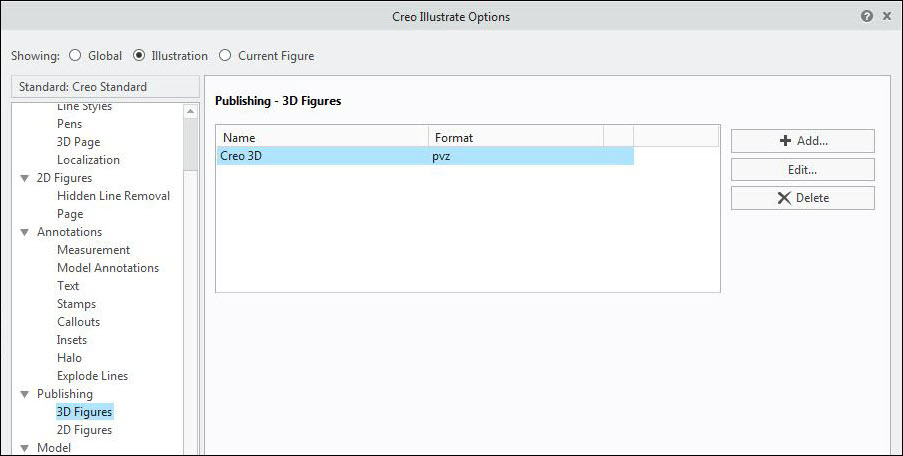
3. In the left pane, under Publishing, select 3D Figures.
The Publishing - 3D Figures pane displays existing publishing options, if any.
4. Click Add to add a new publishing option for Windchill MPMLink.
The Add Publish Option dialog box opens.

5. In the Name field, enter a descriptive name for the option (for example, “Work Instruction Image”) and choose Image for the type.
6. Click OK.
The MPMLink publishing option is added in the Publishing - 3D Figures pane.
For more information on publishing options, see the “Publishing Figures” section in the Creo Illustrate Online Help.
The Creo Illustrate setup is complete.
After adding the publishing options, you can export them as a standard to be used by others in your organization. For information on setting standards, see the “Working with Standards” section in the Creo Illustrate Online Help.