Build the Toolkit Demo for the Windchill Workgroup Manager Client
The Toolkit Demo application contains usage examples of many Windchill Workgroup Manager Toolkit APIs. Upon startup of the Windchill Workgroup Manager client, the Toolkit Demo application adds a menu item to the Windchill Workgroup Manager main window with various actions that can be invoked to test a particular functionality (e.g. list registered servers, checkin, add a pre-save callback, etc., etc.).
The behavior of these mini-tests is usually driven by user environment variables that must be set before launching
Windchill Workgroup Manager. For more information, see
Set Up the Development Environment.
Perform the following steps to build and run the Toolkit Demo application.
1. Close the authoring application if it is connected to Windchill.
2. Close Windchill Workgroup Manager, if it is running.
3. Copy the template project from settings/wwgmtk_vs_project.vcxproj to an empty directory.
4. Launch Microsoft Visual Studio.
5. Click > > .
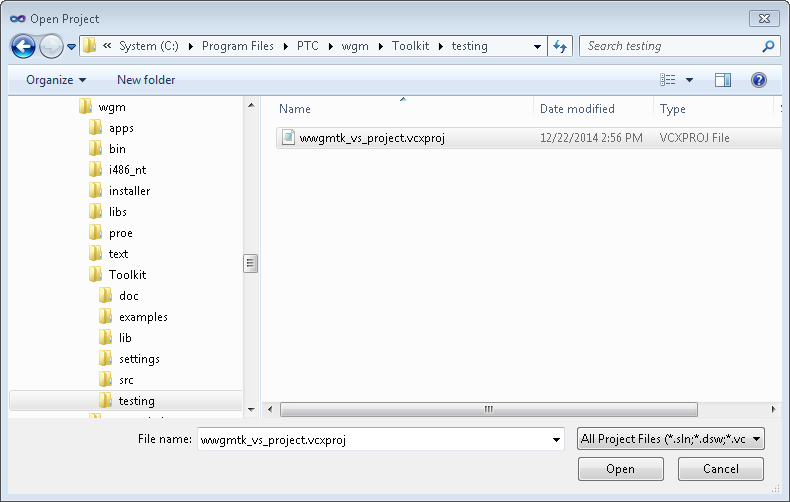
6. Browse to the directory to where you have copied the wwgmtk_vs_project.vcxproj file. Select the wwgmtk_vs_project.vcxproj file and click Open.
7. In the Solution Explorer window, click > . Add all .cxx files and .h files from the following directories:
◦ %WWGMTK_INSTALL_DIR%\examples\wwgmtk_api_demos\src
◦ %WWGMTK_INSTALL_DIR%\examples\wwgmtk_api_demos\include
8. Select the appropriate configuration (Win34 or x64).
9. In the Solution Explorer window, select > > > > > > . Add the following filepath: $(WWGMTK_INSTALL_DIR)\examples\wwgmtk_api_demos\include.
10. To build the project, select > and enter the appropriate criteria.
11. Ensure the custom DLL is built. By default, the custom DLL is located in the %WWGMTK_INSTALL_DIR%\settings\Release directory.
12. Launch the Windchill Workgroup Manager client. The Toolkit Demo menu appears with the following selections.