Creating and Activating a Workspace
You can create a new workspace either from Windchill Workgroup Manager using the Server Management utility or from a workspace table in Windchill.
|
|
By default, the new workspace is made the primary active workspace. If you already have an active workspace, its status changes to inactive and the open files from this workspace are erased from your authoring application session.
|
Creating a New Workspace using the Server Management Utility in Windchill Workgroup Manager
To create a new workspace:
1. From Windchill Workgroup Manager, select > .
The Server Management window opens.
2. Select > .
3. Specify a unique name for the workspace and select the context (product or library) where you want the workspace to reside.
4. Click OK.
The new workspace is added to the list of workspaces in the Server Management window and it immediately becomes your active workspace.
Creating a New Workspace from a Workspace Page in Windchill
To create a new workspace:
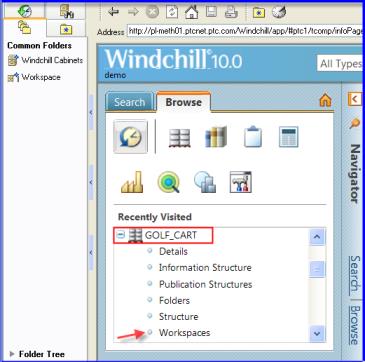
1. In the embedded browser or in standalone Windchill, browse to find the product within which you want to create a workspace.
2. On the Browse tab, expand the product node and click the Workspaces link.
3. In the
My Workspace table in the content pane, click new workspace

.
4. In the New Workspace window, specify a unique name for the workspace.
5. Optionally, provide a description for the workspace.
6. Select the Activate checkbox (not available in a standalone browser) to make the new workspace active on creation.
7. Click OK.
The system confirms that the new workspace is created.
Activating a Workspace
You can designate a particular workspace as the active workspace. The active workspace is used as the default location for data management functions.
To activate a workspace:
1. In Windchill Workgroup Manager, select > .
2. In the Server Management window, right-click a workspace that you want to activate from the list of workspaces available on the selected server. Continue as follows:
a. To activate a workspace on the primary server, click > .
b. To activate a workspace and make its server the primary server, click > .