Configuring the Windchill Server-side CAD Agent for Theorem Worker
This section describes how to configure the Windchill server-side CAD agent of Theorem Worker.
1. On the Windchill server, navigate to > > and then click Configure.
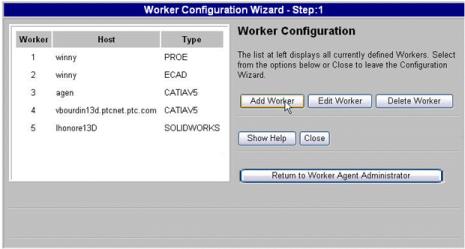
In various releases on Windchill, the Agent Administrator may also be called Worker Agent Administrator, CAD Agent Administrator, or Publishing Agent Administrator.
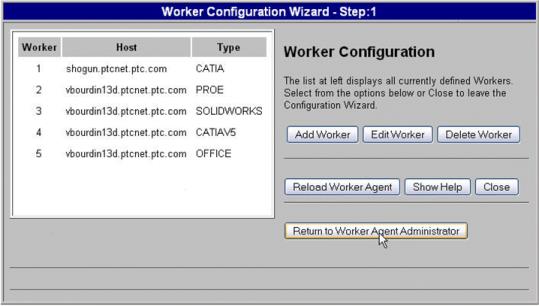
2. Click Add Worker in the Worker Configuration window.
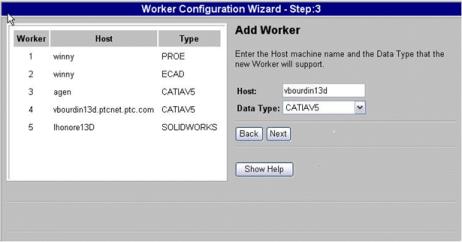
3. Enter the CAD worker host machine and the data type (CATIAV5, not CATIA) to be handled by this worker, and then click Next.
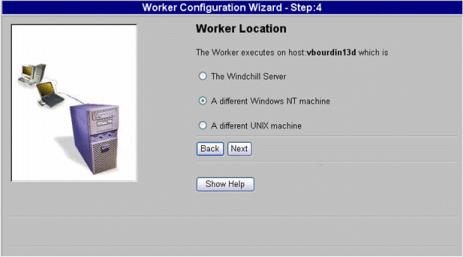
4. Specify where the CAD worker is located and then click Next.
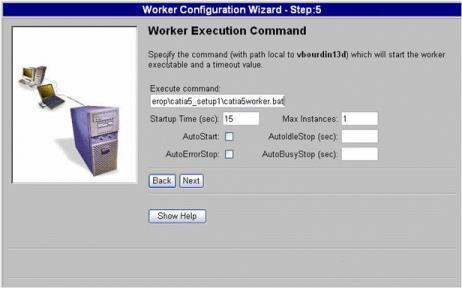
5. Enter the CAD worker startup command as created during the CAD worker configuration (Setup directory\catia5iworker.bat), and then click Next.
6. If you are using a remote worker on a different Windows machine, you must specify the worker daemon port number. Otherwise, leave the default value of 601. Click Next.
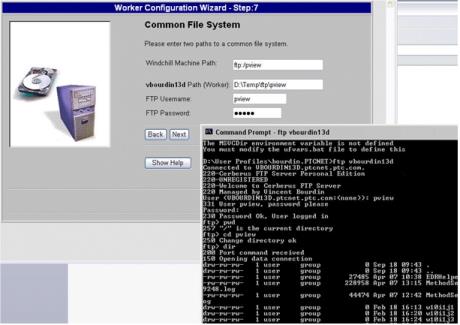
7. Specify the common file system configuration. This can be accomplished by using a network file system such as Microsoft Windows Networking, or NFS, UNC path.
| In this configuration, the Windchill Machine Path indicates that access from the Windchill server to the common file system is accomplished using the FTP command under the pview directory. The <worker machine> path is the location of the common file system on the worker. The above two locations should be the same. In this configuration, test the FTP access to the common file system from the Windchill server by entering the FTP path in a web browser and viewing the location from the browser. |
Click Next.
8. Click Apply.
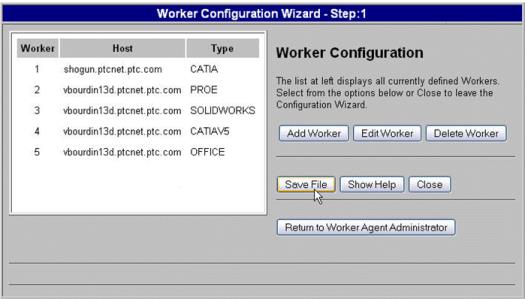
9. The window refreshes to display the first step in Worker Configuration Wizard.
Click Save File.
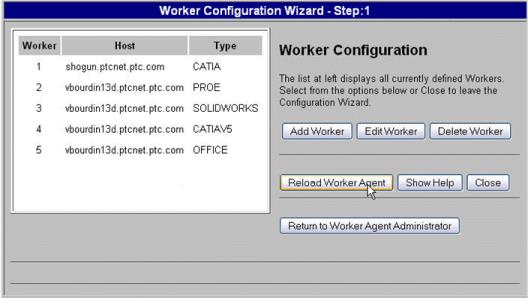
10. Click Reload Worker Agent.
11. Click Return to Worker Agent Administration.