Configuring the Drag and Drop Zone
This section details how to configure an HTML5 drag and Drop zone. This example uses the New Package wizard.
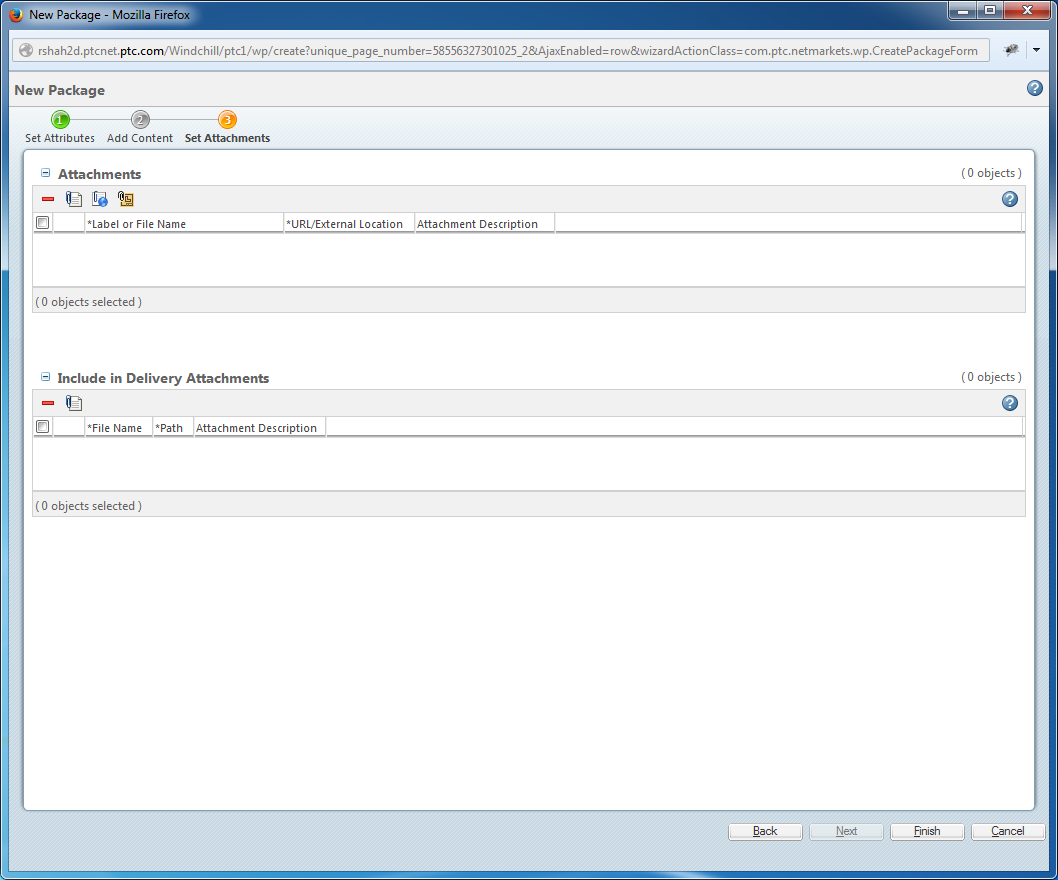
The New Package wizard contains two tables; Attachments and Delivery Attachments. This example shows how to make both the tables different drag and drop zones.
This is the jsp for the New Package wizard.
<jsp:include page="/netmarkets/jsp/attachments/attachments_step.jsp"
flush="true" />
<jsp:include page="/netmarkets/jsp/wp/wp_exp_attachments.jsp"
flush="true" />
Solution Elements
To make the two tables as different drag and drop zones, you must add the following attributes:
• class="dropZone" : Identifies that this div is used as a drop zone.
• targetTableId="<<Table id>>" : ID of the table where the files are dropped.
• <br><br> : Make sure that there is spacing of at least two <br> tags between the two jsp includes as dragging file between the two tables creates a scenario that both the tables are highlighted.
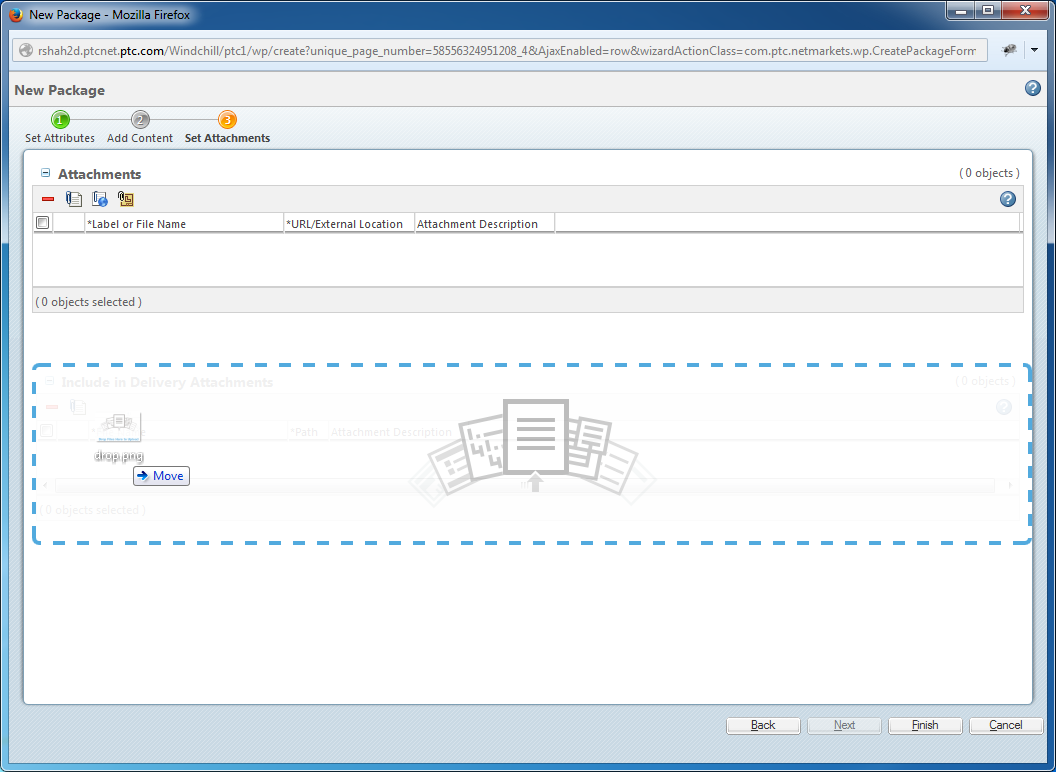
Results
After adding the required attributes, the jsp looks like this:
<div class="dropZone" targetTableId="table_attachments.list.editable_TABLE">
<jsp:include page="/netmarkets/jsp/attachments/attachments_step.jsp"
flush="true" />
</div>
<br><br>
<div class="dropZone targetTableId="wp.attachments.list.editable">
<jsp:include page="/netmarkets/jsp/wp/wp_exp_attachments.jsp"
flush="true" />
</div>
The New Package wizard now looks like this: