Preparing the Server for Installation
In particular, the server should be set up appropriately to prepare it for the installation. First, ensure that there are no existing installations of Windchill, Creo Parametric, or SQL Server. If any installations exist, uninstall and restart the server before continuing. Then, follow the directions in the following sections, based on the Operating System of your server:
|
|
Be sure you have administrator privileges on the server machine.
|
Server Preparation for Windows Server 2008 R2
• Ensure that Windows Server 2008 R2 Service Pack 1 (SP1) is installed
• Install or enable .NET Framework 3.5.1
• Install .NET Framework 4 update: KB2533523 (Microsoft .NET Framework 4 Reliability Update 1 KB2533523)
• To optimize Microsoft Internet Explorer for Windchill, ensure that the Enhanced Security Configuration is disabled on the server:
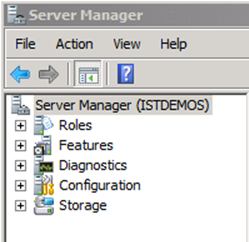
1. In Server Manager, on the left navigation pane, select Server Manager (Server Name).
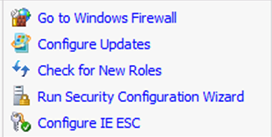
2. Under Security Information, in the list of links on the right, click Configure IE ESC.
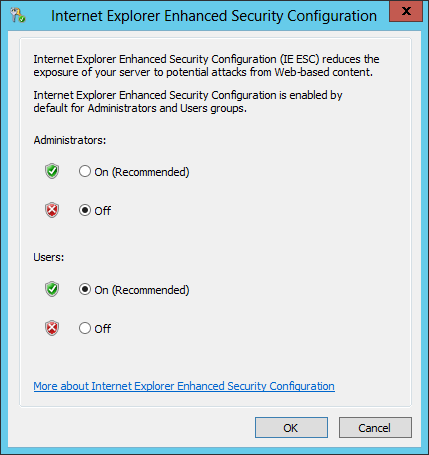
The Internet Explorer Enhanced Security Configuration window appears.
3. Under Administrators, select Off, and then click OK.
• Temporarily turn off Windows Firewall for the domain:
1. In Server Manager, on the left navigation pane, select Server Manager (Server Name).
2. Under Security Information, in the list of links on the right, click Go to Windows Firewall.
3. Under Domain network settings, select Turn off Windows Firewall (not recommended), and then click OK.
Server Preparation for Windows Server 2012 R2
• Enable .NET Framework 3.5.1:
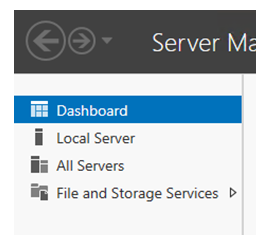
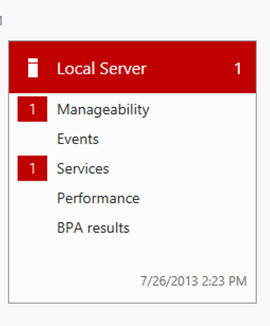
1. In Server Manager, on the left navigation pane, select Dashboard.
2. Under Roles and Server Groups, in the Local Server section, click Manageability.
3. In the Manage menu, select Add Roles and Features.
The Add Roles and Features Wizard opens.
4. On the Before you begin page, click Next.
5. On the Select installation type screen, select Role-based or feature-based installation and click Next.
6. On the Select destination server page, select Select a server from the server pool, find the applicable server in the Server Pool table, and then click Next.
7. On the Select features page, expand .NET Framework 3.5 Features, select .NET Framework 3.5 (includes .NET 2.0 and 3.0), and then click Install.
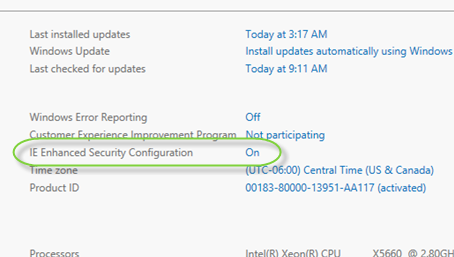
• To optimize Microsoft Internet Explorer for Windchill, ensure that the Enhanced Security Configuration is disabled on the server:
1. In Server Manager, on the left navigation pane, select Dashboard.
2. Under Roles and Server Groups, in the Local Server section, click Manageability.
3. Under Properties, click the IE Enhanced Security Configuration value, which is currently set to On.
The Internet Explorer Enhanced Security Configuration window appears.
4. Under Administrators, select Off, and then click OK.
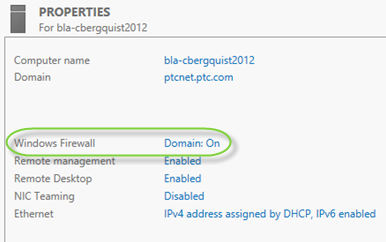
• Temporarily turn off Windows Firewall for the domain:
1. In Server Manager, on the left navigation pane, select Dashboard.
2. Under Roles and Server Groups, in the Local Server section, click Manageability.
3. Under Properties, click the Windows Firewall value, which is currently set to Domain: On.
The Customize Settings window appears.
4. Under Domain network settings, select Turn off Windows Firewall (not recommended), and then click OK.
Additional Server Preparation
In addition to the above preparation steps that are dependant on your server’s Operating System, perform the below preparation steps for Windows Server 2008 R2 and Windows Server 2012 R2:
• Ensure that Java Runtime Environment (JRE) Version 7, Update 5 or later is installed.
For more information on determining which version of JRE is installed, refer to the following
online procedure.
• Ensure that you have a PDF reader installed on the server (such as Adobe Acrobat). This is needed to open and read the PDF documentation included in the Windchill PDM Essentials media.
• Configure the server if there is no corporate domain name server.
If you are installing in an environment where there is no domain name server, you need to configure your Windchill Server as a workgroup and add a domain extension for the workgroup:
1. On the server machine, click Start, right-click Computer, and then select Properties.
2. In the Properties window, select the Computer Name tab, and then click Change.
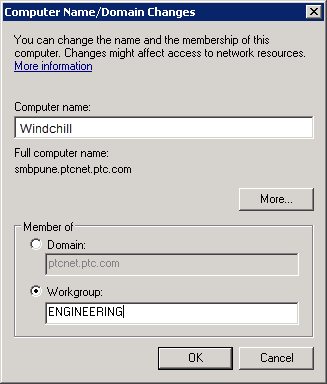
The Computer Name/Domain Changes dialog box opens.
3. In the Member of section , select Workgroup, and then type a name for the workgroup.
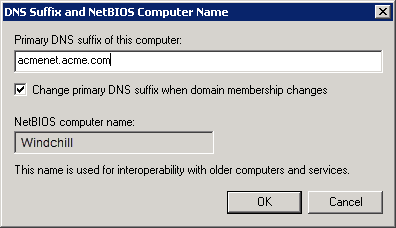
4. Click More to open the DNS Suffix and NetBIOS Computer Name dialog box.
5. Type a fully qualified domain name in the Primary DNS suffix of this computer field, and then click OK.
6. Click OK to accept the change to Workgroup and to close the Computer Name/Domain Changes dialog box.
• Reboot the server to ensure that Microsoft Windows does not have existing reboot requests pending.