新增應用程式參數並使用 If Else 語句編輯快顯
除了重複使用 3D-Guided Service Instructions 200 體驗中的許多編碼以外,您還會將一些新的應用程式參數與變數新增至編碼的開頭。
|
|
如需此部份的完整編碼,請參閱 GitHub 中的 附錄 1。 |
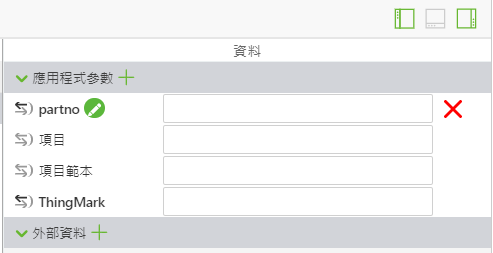
1. 在新增新的 JavaScript 之前,需要建立新的應用程式參數。應用程式參數會用於將 quadcopter 模型的屬性繫結至 Vuforia Studio 內可用於資料繫結的參數。
a. 開啟螢幕右側的「資料」窗格,並展開「應用程式參數」清單。
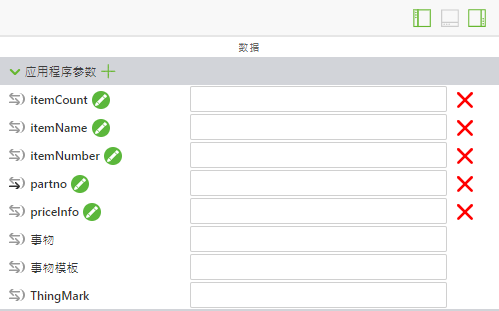
b. 使用「應用程式參數」旁邊綠色的 + 來新增下列應用程式參數:
▪ itemCount - 用來顯示所選特定零件的數量
▪ itemName - 用來儲存所選零件的名稱
▪ itemNumber - 零件編號
▪ priceInfo - 零件價格
請勿在這些參數旁邊的方塊中輸入任何資料;這些資料會從模型的屬性中新增。在稍後的活動中,這些資料會從外部來源中擷取。
2. 在 Home.js 中,於 partName、instructionName 及 partNumber 變數下,新增兩個新變數:
◦ priceString - 用 metadata.get 從模型中擷取 listPrice 屬性。
◦ price - 使用條件式運算子將 priceString 從字串資料類型變更為浮點數,以便在有與零件相關聯的價格時,將其註冊為數字,如果沒有相關聯的價格,則它會變成空字串。
var priceString = metadata.get(pathId, 'listPrice');
//
//listPrice is obtained as a string. If there is a price for the part, then use parseFloat to turn the string into a float. If there is not a defined price, set price to ""
var price = priceString != undefined ? ' </br>$' + parseFloat(priceString)
: "";
3. 接下來,在新變數的下方,將在本節步驟 1 中建立的應用程式參數初始化,使其等於您剛剛建立的某些變數。在稍後的部份中會建立購物車,而在將零件新增至購物車時會使用這些應用程式參數。
對於專案的此部份,每個零件的庫存 itemCount 會是 1,因為沒有與它相關聯的外部資料。priceInfo 與價格稍有不同,因為這個變數並不像 price 一樣附加了 $,這是因為它在稍後的部份會用來合計購物車的總數。
//
// set itemName app parameter to be equal to the partName variable, same relationship with itemNumber and partNumber and priceInfo and price.
// Set the itemCount to 1 for the purpose of this section, since it is not hooked up to an actual inventory.
$scope.app.params.itemName = partName;
$scope.app.params.itemNumber = partNumber;
$scope.app.params.priceInfo = parseFloat(priceString);
$scope.app.params.itemCount = 1;
4. 所有的初始變數和應用程式參數都已建立。