Load the Model Into Creo Illustrate
1. Open Creo Illustrate.
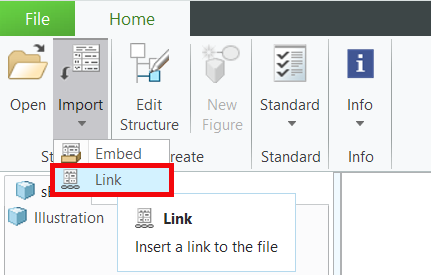
2. Click Link in the Import drop-down menu to link the file to an existing CAD model. Linking the model ensures that all updates to the source model are reflected inside Creo Illustrate as well.
3. Navigate to and select the quadcopter_start.pvz file you downloaded for this use case.
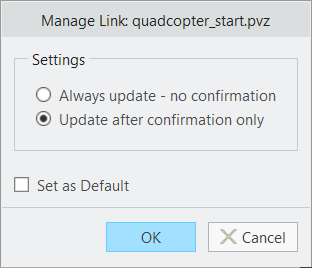
4. Select the Update after confirmation only setting on the Manage Link window and click OK.
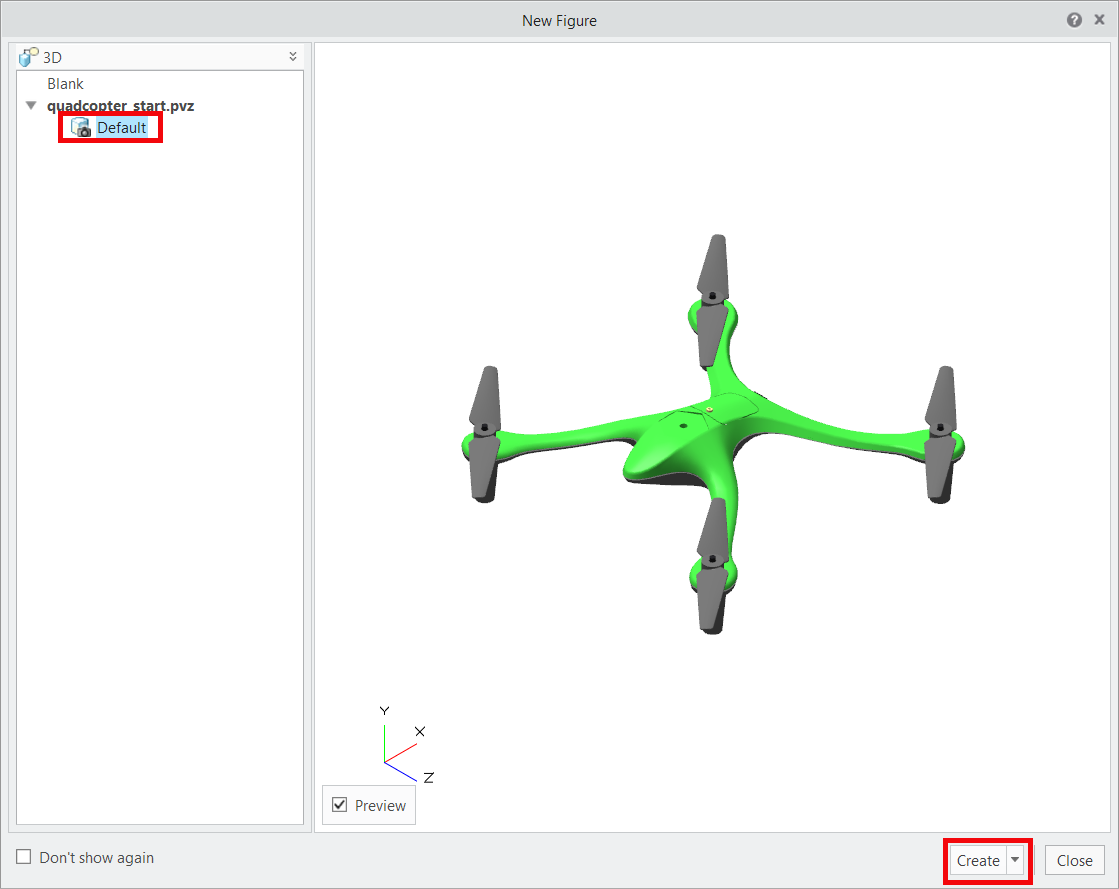
5. To get the model to appear in the New Figure window, click Default and ensure that the Preview checkbox is selected. Once the model appears, click Create.
6. Move the New Figure window to the side. If the model appears in the graphics window of Creo Illustrate behind the New Figure window, then it has been imported successfully. Click Close on the New Figure window.