Creating State Definitions
Creating State Definitions and Adding State Rules
Before you apply state formatting to a widget, you must create state definition entities with conditions for the formatting.
To create a state definition entity, follow these steps:
1. In Composer, click New and then select State Definition.
2. On the General Information tab, type the following:
◦ Name—The entity name. This is used when applying a state definition to a widget.
◦ Project—Links the entity to a specific project. This is used to organize and group entities.
3. Open the New State Definition tab.
4. In the Apply State drop-down list, select Numeric or String/Value.
5. Click Add to define a new state rule. A side panel opens.
6. In the side panel, define states as follows:
◦ For numeric values, set the following options:
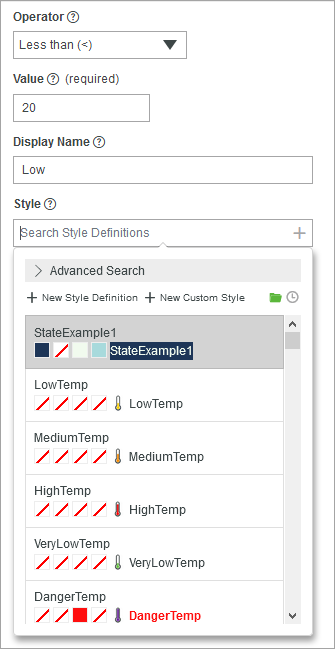
▪ Operator—The operator for the value
▪ Value—The unique numeric value to match for the styling condition
Display Name—The name of the state definition instance
▪ Style—The style definition to apply to the widget when the state is active
◦ For strings, specify the following options:
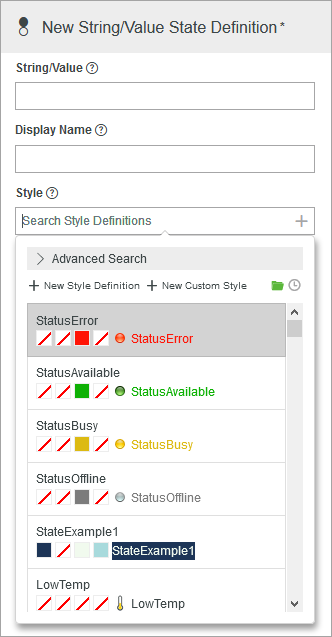
▪ String/Value—The unique string or value to match for the styling condition
▪ Display Name—The name of the state definition instance
▪ Style—The style definition to apply to the widget when the state condition is met
• You cannot add strings and number states to the same style definition. |
7. Click  to add the state and close the panel.
to add the state and close the panel.To add the state and keep the panel open, click  .
.
.The following figure shows multiple numeric state conditions that have style definitions with images:

Each state that you define is added to the table under State Information. Each row is a condition that applies a style definition based on the current widget value.
You can also apply a state definition when none of the defined conditions are matched.
1. Click the Default value. A side panel opens.
2. In the side panel, select a style definition and set a default value.
3. Click to apply your changes.
to apply your changes.