A number of manufactures all over the world are making standard mold parts for Mold Makers. A Mold Base is an initial assembly of mold plates and components that the mold maker can purchase from a commercially available catalogue thereby shortening manufacturing time. Mold Base includes a database of the commonly used catalogues with a selection of the most commonly used mold components. New catalogues and additional mold components are added from time to time according to the user wish list. In this exercise we will create a standard mold base. In other exercises we will practice how to create non standard mold bases based on standard ones and total customized based on Creo Elements/Direct Modeling solids.
* Click Mold from the Mold Base Dialogue under Creation.
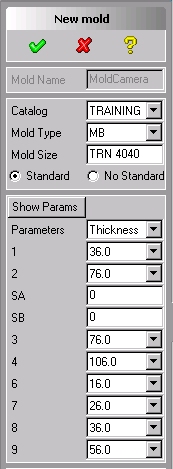
New Mold dialogue box appears.
The Mold size and plates thickness are calculated according to plate rules.
* Change to TRAINING catalog.
* Click Show Parameters in order to get the graphic help that will help you understand which plate thickness you change.
* Click Parameters and select Components.
Select the Locating ring, Spacers and Ejector Guides check boxes well.
Make sure that Type is set to Standard. You are going to create a standard mold base.
The other option is Non Standard mold.
The Non-Standard type allows you to create a non-standard mold (modifying the general dimensions) with all the components positioned according to the corners of the general dimension.
* Click  .
.
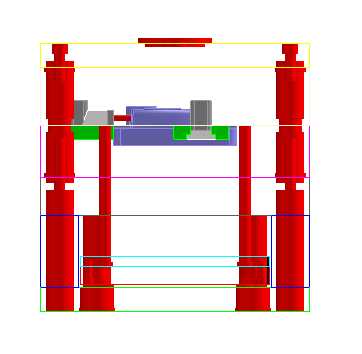
* Notice the Core, Cavity, Side Core mechanism assemblies were moved under the ownership of the main mold assembly. Each assembly was moved under the static side and mobile side assemblies according to the initialization setting above.