Exercise 4 – Verifying Screw Connections
During the development process, models or assemblies change constantly. If fasteners are assembled in the early stages of development, you should verify all screw connections.
1. In Creo Parametric set the working directory to <downloaded files location>\IFXTraining\IFX_Asm\Exercise4 and open ifx-exercise-4.asm.
2. Click
View >
 Saved Orientations
 and then click
GLASS.
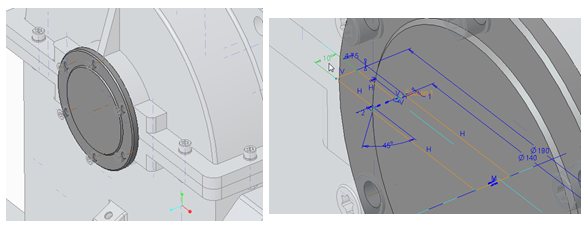
3. In the Model Tree, right–click GEAR_SHAFT_COVER.CLOSED.PRT and select Activate .
4. Double-click the feature in the graphics window and change the thickness from 10 to 20 units.
5. Activate the main assembly and regenerate.
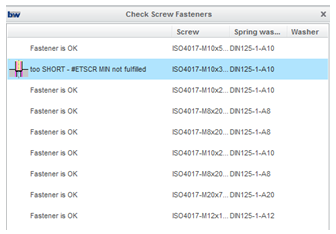
6. Click Tools > Intelligent Fastener > Check Screw Fasteners. The Check Screw Fasteners dialog box opens.
7. Double-click the row where it is indicated that the screw connection is too short. The Screw Fastener Definition dialog box opens.
8. Click
 Set length automatically
 and then click
OK to close the dialog box. The
Check Screw Fastener and the
Pattern Options dialog boxes open and you can see that the screw connection is no longer too short.
9. Click OK to close the dialog box.
10. Save and close the assembly.
11. Click File > Manage Session > Erase Not Displayed. The Erase Not Displayed dialog box opens.
12. Click OK to erase all files from memory.
 Saved Orientations and then click GLASS.
 Saved Orientations and then click GLASS.
 Saved Orientations and then click GLASS.

 Set length automatically and then click OK to close the dialog box. The Check Screw Fastener and the Pattern Options dialog boxes open and you can see that the screw connection is no longer too short.