Creating a Revolve
1. On the
Model tab, click
 Revolve
 from the
Shapes group. The
Revolve tab opens.
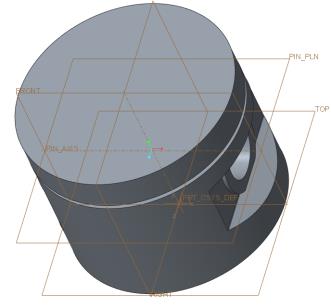
2. In the Model Tree, select the datum plane FRONT. The Sketch tab opens.
3. On the in-graphics toolbar, click

Sketch View.
4. To define the centerline:
a. Click
 Centerline
 from the
Datum group.
b. Click anywhere on the vertical dashed line.
c. Move the pointer and click again on the vertical dashed line to finish defining the vertical centerline placement.
5. Click
 Rectangle
 from the
Sketching group.
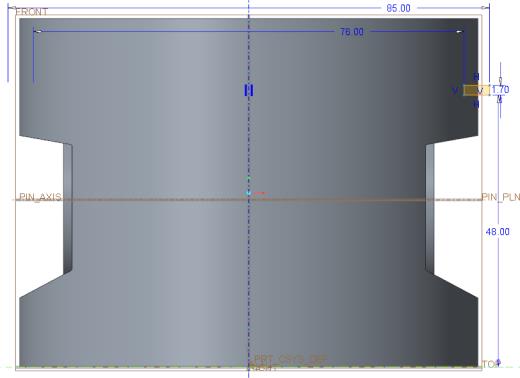
6. Sketch a rectangle according to the dimensions shown in the following figure.
| Tip: To create the diameter dimension, click the left vertical entity of the rectangle, click the centerline, and then click the left vertical entity again. |
7. Right-click in the graphics window and click
 Save the sketch and exit
.
8. Right-click in the graphics window and click Remove Material.
9. On the
Revolve tab, click

.