Exercise 3—Rendering in Real Time
When you render in real time you can see how the appearance of your model changes when the orientation changes. It gives you an up-to-date view of the model, so you know exactly how it would look like if it were rendered in its current position.
1. If your model from Exercise 2 is still open, go to step 5, otherwise, go to step 2.
2. Open chair.asm. This is the model that you saved after completing Exercise 2.
3. To begin rendering, click Applications > Render Studio. The Render Studio tab opens in the ribbon and rendering begins.
4. Click
 Perspective View
 to change the display from orthographic to perspective. This puts the part in the correct perspective before editing the scene.
5. Under
 Real-Time Rendering
 click
Real-Time >
Real-Time Settings. The
Real-Time Rendering Settings dialog box opens.
6. Experiment with real-time rendering by performing the actions in the table below:
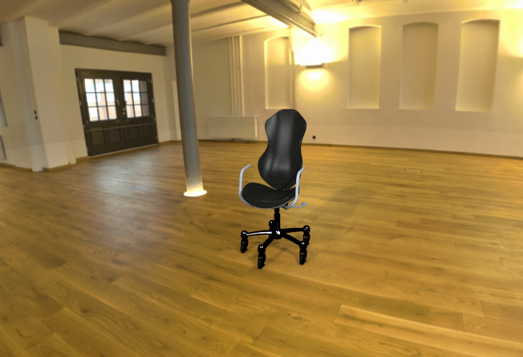
Select the Self-Shadows and Ground Illumination check boxes and clear all other check boxes. When Self Shadows is selected, the model casts shadows on itself as it would in real life. When Ground Illumination is selected, the ground around the model lights up and the shadows are easier to see. | |
Move the Ray Bounces slider to 0. This disables all reflections of light from the model, from hitting other surfaces. | |
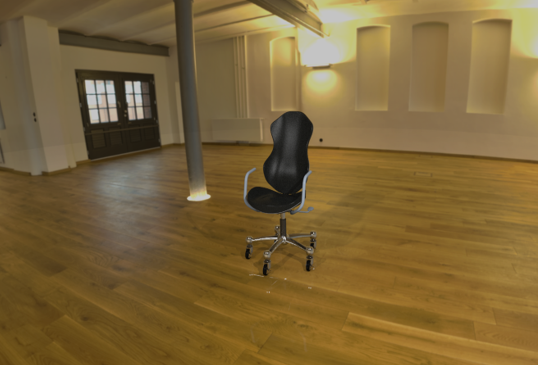
Move the Ray Bounces slider to 50 to see the effect of having light bounce off of objects. | |
7. Click OK to accept the changes you made in the Real-Time Rendering Settings dialog box.
8. Continue by following one of the actions described below:
◦ Go to Exercise 4.
◦ Click File > Save to save the model. You can continue with Exercise 4 at a later time.