Example: Creating a Curve-Driven Tangent Draft
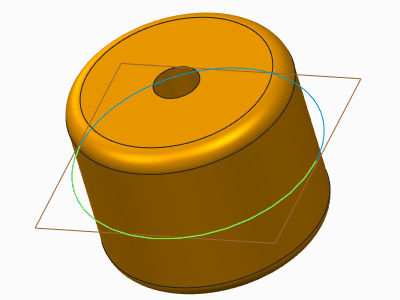
This example shows how to create a tangent draft on both sides of the reference curve plane. You can use any type of curve to create a curve-driven tangent draft, but to control the draft angle, create the curve as a parting line with the appropriate angle, as shown in this example.
1. Click
Model >
Surfaces >
Blend Tangent to Surfaces. The
Tangent Surface dialog box opens, with

selected by default.
2. Select a plane that is normal to the draft direction.
3. To accept the direction, select Okay, or to reverse the direction, select Flip and then click Okay.
4. Click the References tab. The CHAIN menu appears.
5. Select a curve or an edge and click Done.
6. Click

under
Tangent To and select the appropriate reference surface.
7. Click

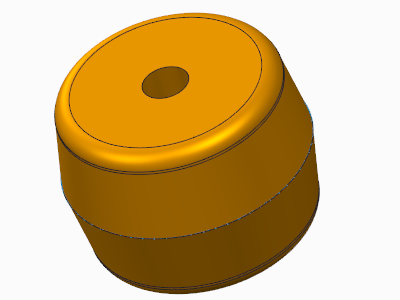
. The following illustration shows a tangent draft on both sides of the reference curve plane.