Mapping an Icon File
Use the sample files provided at
<Creo load point>\Common Files\help\sample_models\piping when working in this exercise. It is recommended that you create a copy of the
piping folder on your computer and
set up piping data before you start working with the tutorial.
1. Open the piping folder and set the piping_assembly folder as the Working Directory.
2. Open manifold_skid.asm.
3. Click
Applications >
 Piping
. The
Piping tab opens.
4. Click
 Insert Fitting
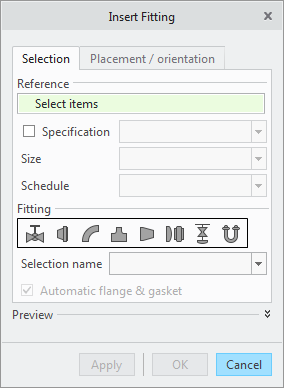
. The
Insert Fitting dialog box opens.
5. Click Cancel to close the Insert Fitting dialog box.
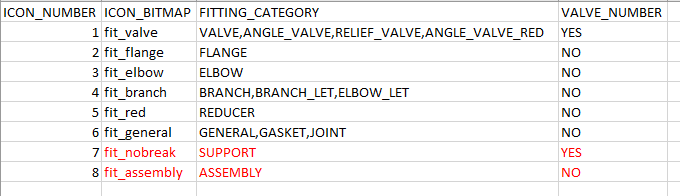
6. In the sample_project folder, open the piping_fitt_category_map.csv file.
7. Swap the last two rows, keeping the first column intact.
In the following image, swapped values are shown in red:
8. Save and close the Fitting Category Map file.
9. Click
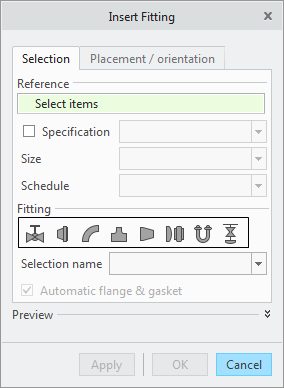
Insert Fitting. The
Insert Fitting dialog box opens.
|  The last two fitting icons are swapped. |
10. Click Cancel to close the Insert Fitting dialog box.