Example: Splitting a Volume
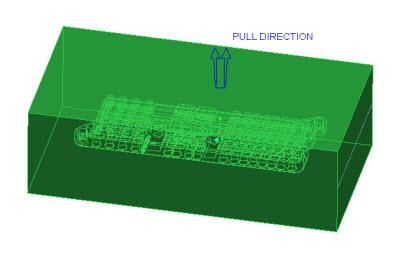
With the Volume Split command, you can use multiple parting surfaces to split a workpiece or a die block into multiple volumes as shown in this example. Before you follow the steps, ensure that the necessary features such as reference part cutout and parting surface are created in the mold assembly.
1. Open a mold reference model.
2. Click
Mold >
Mold Volume >
 Volume Split
. The
Volume Split tab opens.
3. On the References tab, select the reference part cutout volume in the Split Volume: field.
4. Select the parting surface in the Split Surfaces: field.
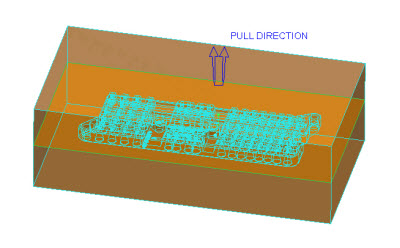
5. On the Volumes tab, click one or more check boxes to specify the volumes you want to remove. In this example, the parting surface creates two volumes.
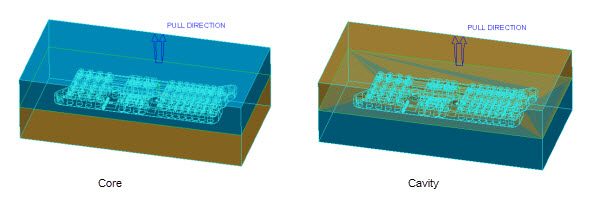
6. Click the Volume_1 and Volume_2 and rename them as Core and Cavity. The next image shows highlighted Core and Cavity volumes in the graphics window.
7. Click
 OK
OK. The volume split features are created.
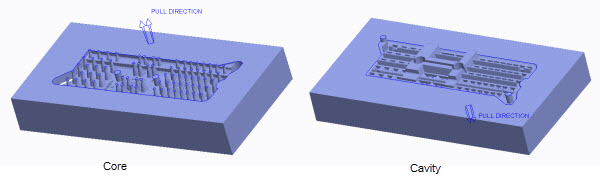
8. Click
 Shade
Shade in the in-graphics toolbar to analyze the volumes created after splitting volumes.