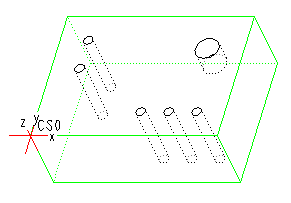
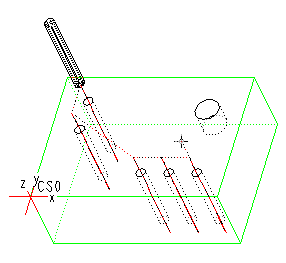
1. Click  Custom on the Mill or Turn tab. The Custom Drilling tab opens.
 Custom on the Mill or Turn tab. The Custom Drilling tab opens.
 Custom on the Mill or Turn tab. The Custom Drilling tab opens.
 tool list box, or click Edit Tools.
 , select a cycle or the Edit Cycles option. The Customize Cycle dialog box opens.
 , select FDRILL in the Existing Cycles list box, click the right mouse button, and click the Select cycle and return option on the pop-up menu.
 to specify parameters specific to holemaking.
 Auto, which means that the start surface and the end surface are determined automatically. You have to assign a value to the feed surface reference and to the new feed variable.
 from the list below Cycle References and type -2 as the Z offset value. This means that the feed surface is 2 inches below the XY-plane of the NC sequence coordinate system, which in our example coincides with the start surface (see the following illustration).
 from the list below Cycle References and type 30.
 to complete the cycle placement and close the tab.