
Display State | Display |
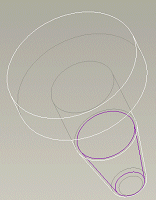
In the Wireframe display state, the cosmetic thread quilt is highlighted in purple, with the major and minor diameters displayed at the base due to the taper. | 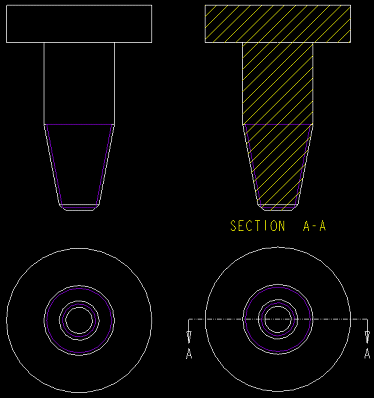 |
In the Hidden display state, the cosmetic thread quilt is not displayed. The side and the section views display incomplete threads. The section view displays hidden lines for the top of the quilt and for the back of the bolt head. The top view displays a 270 degree arc at the minor diameter. Solid arcs are displayed for the major diameter and the chamfer. The display of the minor diameter is blanked at the base. | 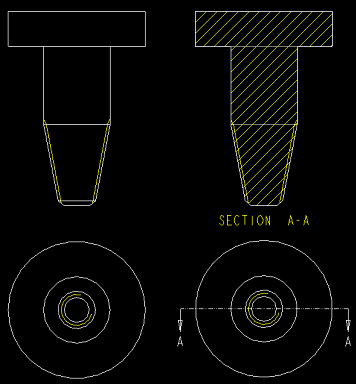 |
In the No Hidden display state, the cosmetic thread quilt is not displayed. The side view is identical to the left view. The section view does not display the back of the bolt head. The back of the tapered geometry edge is hidden. | 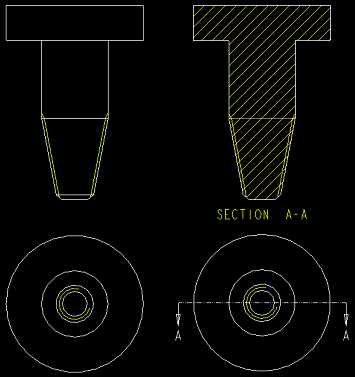 |
Display State | Display |
In the Wireframe display state, the cosmetic thread quilt is highlighted in purple, with the major and minor diameters displayed at the base due to the taper. | 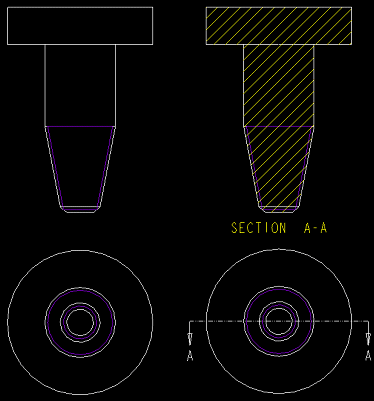 |
In the Hidden display state, the cosmetic thread quilt is not displayed. The section view displays a hidden line for the back of the bolt head. The top view displays solid arcs for the outermost and innermost major diameters and the chamfer. A hidden arc is displayed for the outermost minor diameter. The innermost minor diameter is blanked. | 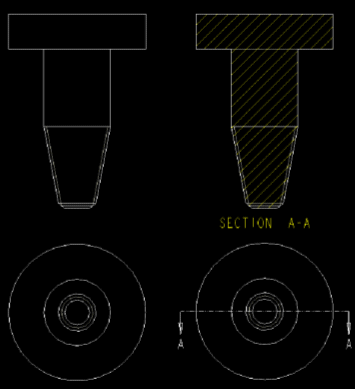 |
In the No Hidden display state, the cosmetic thread quilt is not displayed. The views are identical to that of the hidden display state except that the section view does not display the back of the bolt head, and the threads in the side view are not displayed. | 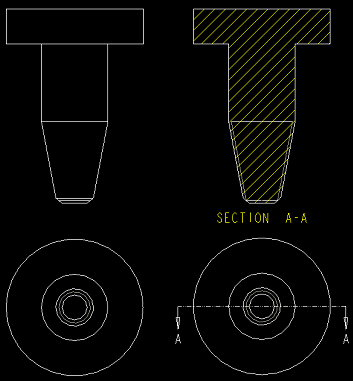 |
Display State | Display |
In the Wireframe display state, the cosmetic thread quilt is highlighted in purple, with the major and minor diameters displayed at the base due to the taper. | 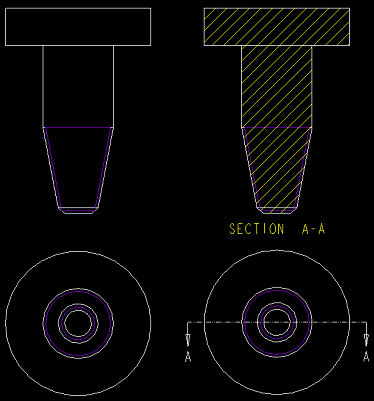 |
In the Hidden display state, the cosmetic thread quilt is not displayed. The section view displays a hidden line for the back of the bolt head and solid lines for the upper and lower thread extents. The top view displays a 270 degree arc for the outermost diameter highlighted in yellow. The innermost minor diameter is blanked. Solid arcs are displayed for the major diameter and the leading chamfer. | 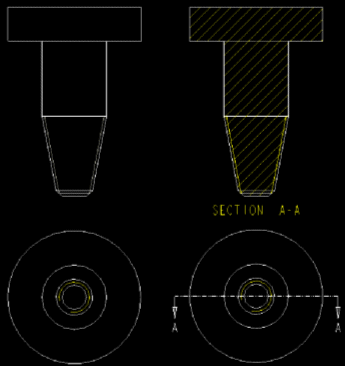 |
In the No Hidden display state, the cosmetic thread quilt is not displayed. The side view does not display the threaded surface. The views are identical to that of the hidden display state except that the section view does not display the back of the bolt head, and the threads in the side view are not displayed. | 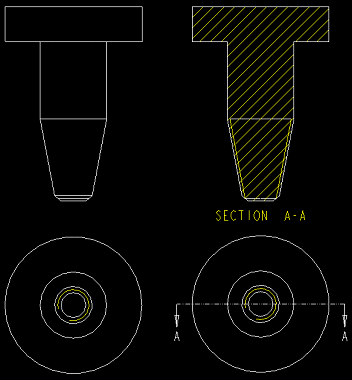 |