Example: Shaping a Volume
You can use a shaped volume to create a cavity insert. A classified surface is required to shape a volume. The following example explains how to shape a volume.
1. Click
Mold >
Mold Volume >
 Shape Volume
. The
Shape Volume tab opens.
2. Select a volume or a workpiece in the Boundary Reference collector. The following image shows the selection of a workpiece.
3. Select the classified and parting surfaces in the Surfaces collector. The following image shows the selected classified core surface and a parting surface.
4. Click

.
5. Specify the volume name in the Properties dialog box. The shape volume feature is created.
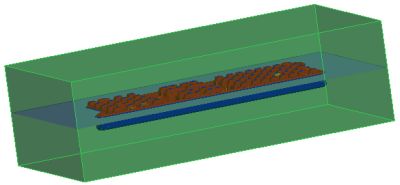
6. Click
 Shade
Shade to view the shaped volume as shown.