Creating Constraints
1. Click Constraints in the Process Guide dialog box and then click constraints in the instruction area. The Constraints Manager dialog box opens.
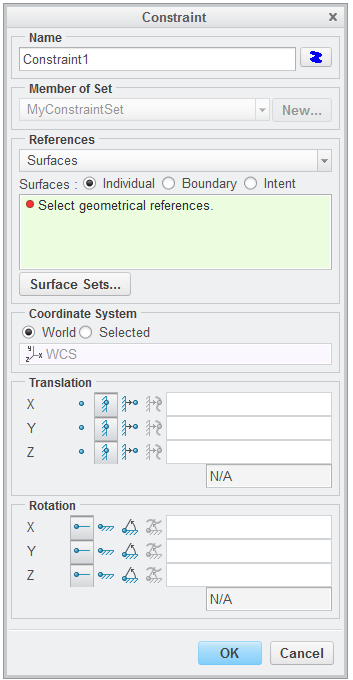
2. Click
 Create a displacement constraint
. The
Constraint dialog box opens.
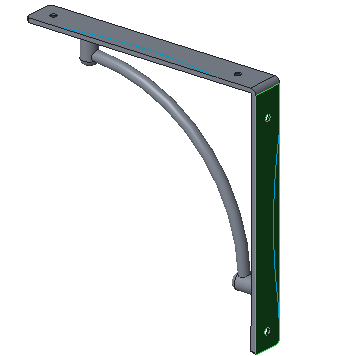
3. Select the outer surface of the vertical plate of the bracket.
4. By default the X, Y and Z translation constraints are fixed. In the
Constraint dialog box, under
Translation, click
 Free
Free to change the X and Y translation from fixed to free.
5. Click OK, to close the Constraint dialog box and reopen the Constraints Manager dialog box.
6. Click
 Create a displacement constraint
. The
Constraint dialog box opens.
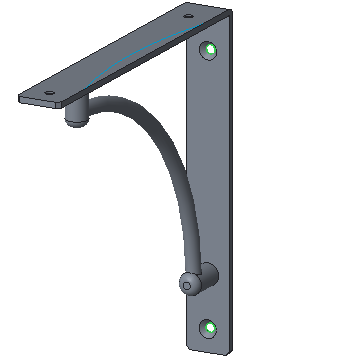
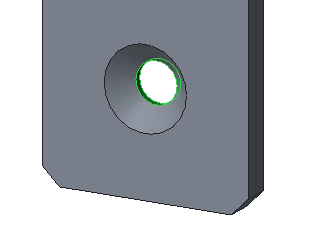
7. Press and hold CTRL and then click the inside surface regions of both holes on the vertical plate to select them.
8. In the
Constraint dialog box, under
Translation click
 Free
Free to change the Z translation from fixed to free.
9. Click OK to close the Constraint dialog box and reopen the Constraints Manager dialog box.
10. Click Close to close the Constraints Manager dialog box.
11. In the Process Guide dialog box, notice the green check mark indicating the constraint has been updated. Click Next to proceed to loads.
 Create a displacement constraint. The Constraint dialog box opens.
 Create a displacement constraint. The Constraint dialog box opens.
 Create a displacement constraint. The Constraint dialog box opens.
 Free to change the X and Y translation from fixed to free.
 Create a displacement constraint. The Constraint dialog box opens.

 Free to change the Z translation from fixed to free.