Map Appearance Options
Use the Texture, Bump, and Decal tabs in the Appearances Manager, Model Appearance Editor or the Appearance Editor dialog box to use a texture to define an appearance.
Select
Image from the box, and click the swatch next to the box to select an image. If required, define the values for the
Bump texture. Use the
Model Appearance Editor dialog box to place the texture maps. Select

and pick a surface that has a textured appearance applied to it. The options for specifying the values for positioning and mapping of the selected surface are displayed.
Color Texture
An image, when placed on the surface or part, replaces the base color of the area covered by the image. You can choose the type of texture from the following:
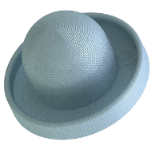
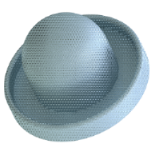
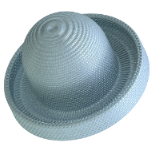
• Image—Specify a standard image, such as JPG, PNG, and TIFF, to be used as a color map. The image is projected on the selected surfaces based on the type of projection specified. You can set the type of projection to parametric, planar, spherical, or cylindrical.
Color texture image with parametric projection 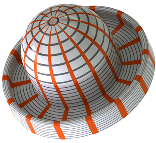 | Color texture image with planar projection 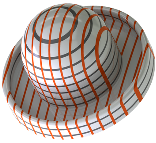 | Color texture image with spherical projection  |
• Procedural Image—Specify a standard image, such as JPG, PNG, and TIFF, to be used as a color map. The image is projected on the selected surfaces based on the camera orientation. The image is wrapped around the surfaces to achieve the desired results. You can scale and rotate the Procedural Image type of texture using the Scale and Rotate sliders or you can enter values in the adjacent boxes.
|  The image rotates with the object as the camera position is changing. The Procedural Image textures can be seen in the interactive graphics with  Shading With Reflections Shading With Reflections and with a Keyshot license. |
Procedural image — Brick 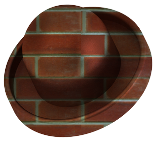 | Procedural image — Brick rotated  | Procedural image — Brick scaled 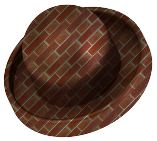 |
Bump
A type of texture that creates the illusion of surface roughness. When you apply a bump, you can also specify a bump height that defines the height or depression of the applied bump values, and a bump scale that defines the size of the applied bump values. You can choose the type of texture from the following:
• Image—Specify a standard image, such as JPG, PNG, and TIFF, to be used as a bump map. The image is projected on the selected surfaces based on the type of projection specified. You can set the type of projection to parametric, planar, spherical, or cylindrical. The texture is then wrapped in the UV space.
Bump image with parametric projection | Bump image with planar projection | Bump image with cylindrical projection |
• Procedural Image—Specify a standard image, such as JPG, PNG, and TIFF, to be used as a bump map. The image is projected on the selected surfaces based on the camera orientation. The image is wrapped around the surfaces to achieve the desired results. You can use the sliders or enter values in the adjacent boxes to adjust the height of the procedural image. You can also scale and rotate the procedural image using the Scale and Rotate sliders or enter values in the adjacent boxes.
|  The image rotates with the object as the camera position is changing. |
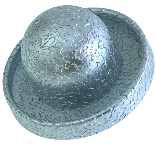
Procedural image – Kevlar 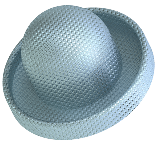 | Procedural image – Brushed 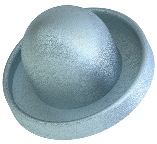 | Procedural image – Galvanised 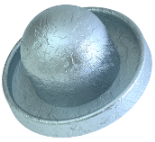 |
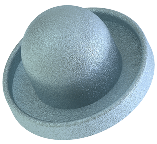
• Rough, or Cast, Cellular—A procedural bump texture corresponding to the rough, cast, or cellular maps is applied to the selected surfaces. The noise function generates the noise factor based on world coordinates. The noise factor is used to change the normal at a position. The texture is wrapped around the surfaces with a constant scale and orientation to produce a smooth and seamless result. You can control the scale and height of the bump effect using the Scale and Height sliders or enter values in the adjacent boxes.
|  Procedural Image Procedural Image, Rough, Cast, and Cellular textures can be seen in the interactive graphics with  Shading With Reflections Shading With Reflections and with a Keyshot license. |
Decal
Replaces the base color overlapping the areas affected by the image. The decal lies on top of any bump or color texture just like a sticker or logo. The decal may also include transparent areas that, although within the image, still allow the base color or color texture to show through.
1. Bump Texture
2. Color Texture
3. Decal Texture
 and pick a surface that has a textured appearance applied to it. The options for specifying the values for positioning and mapping of the selected surface are displayed.
 and pick a surface that has a textured appearance applied to it. The options for specifying the values for positioning and mapping of the selected surface are displayed.


 Shading With Reflections


