You can create a 3D conical curve in a new part or an existing empty or wire part.
To create a 3D conical curve,
1. Click 3D Geometry and then, in the 3D Curve group, click More.
2. Click 3D Conical Curve. The 3D Conical Curve dialog box opens and the Point 3D CoPilot appears in the viewport.
3. Select a Start Point in the viewport or type the u, v, and w coordinates in the user input line. You can use the Point 3D CoPilot to specify the 3D positions in the viewport. For more information, see
Point 3D CoPilot.
4. Select an End Point in the viewport or type the u, v, and w coordinates in the user input line.
5. Select an Apex in the viewport or type the u, v, and w coordinates in the user input line.
6. Drag the 3D CoPilot dragger in the viewport (as shown in the following image) to set the Weight or type a value in the Weight box.
You can use the handles to change the positions of the Start Point, Apex, or the End Point.
7. Click Follow Me to always reposition the Point 3D CoPilot handle to the selected point in the viewport.
 3D Conical Curve. The 3D Conical Curve dialog box opens and the Point 3D CoPilot appears in the viewport.
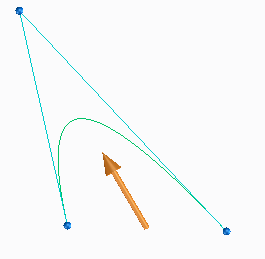
 to complete the operation.